
This post may contain affiliate links. As an Amazon Associate, I earn from qualifying purchases. Please read my disclosure.
Nothing beats a homemade fruit pie, and if it is a classic like this cherry pie with frozen cherries, you have a guaranteed winner of a recipe. I use frozen cherries, lemon zest, and almond extract to create a bright and slightly tart filling layered under a crisp golden top that can be made any time of the year, no matter what fruit is in season.
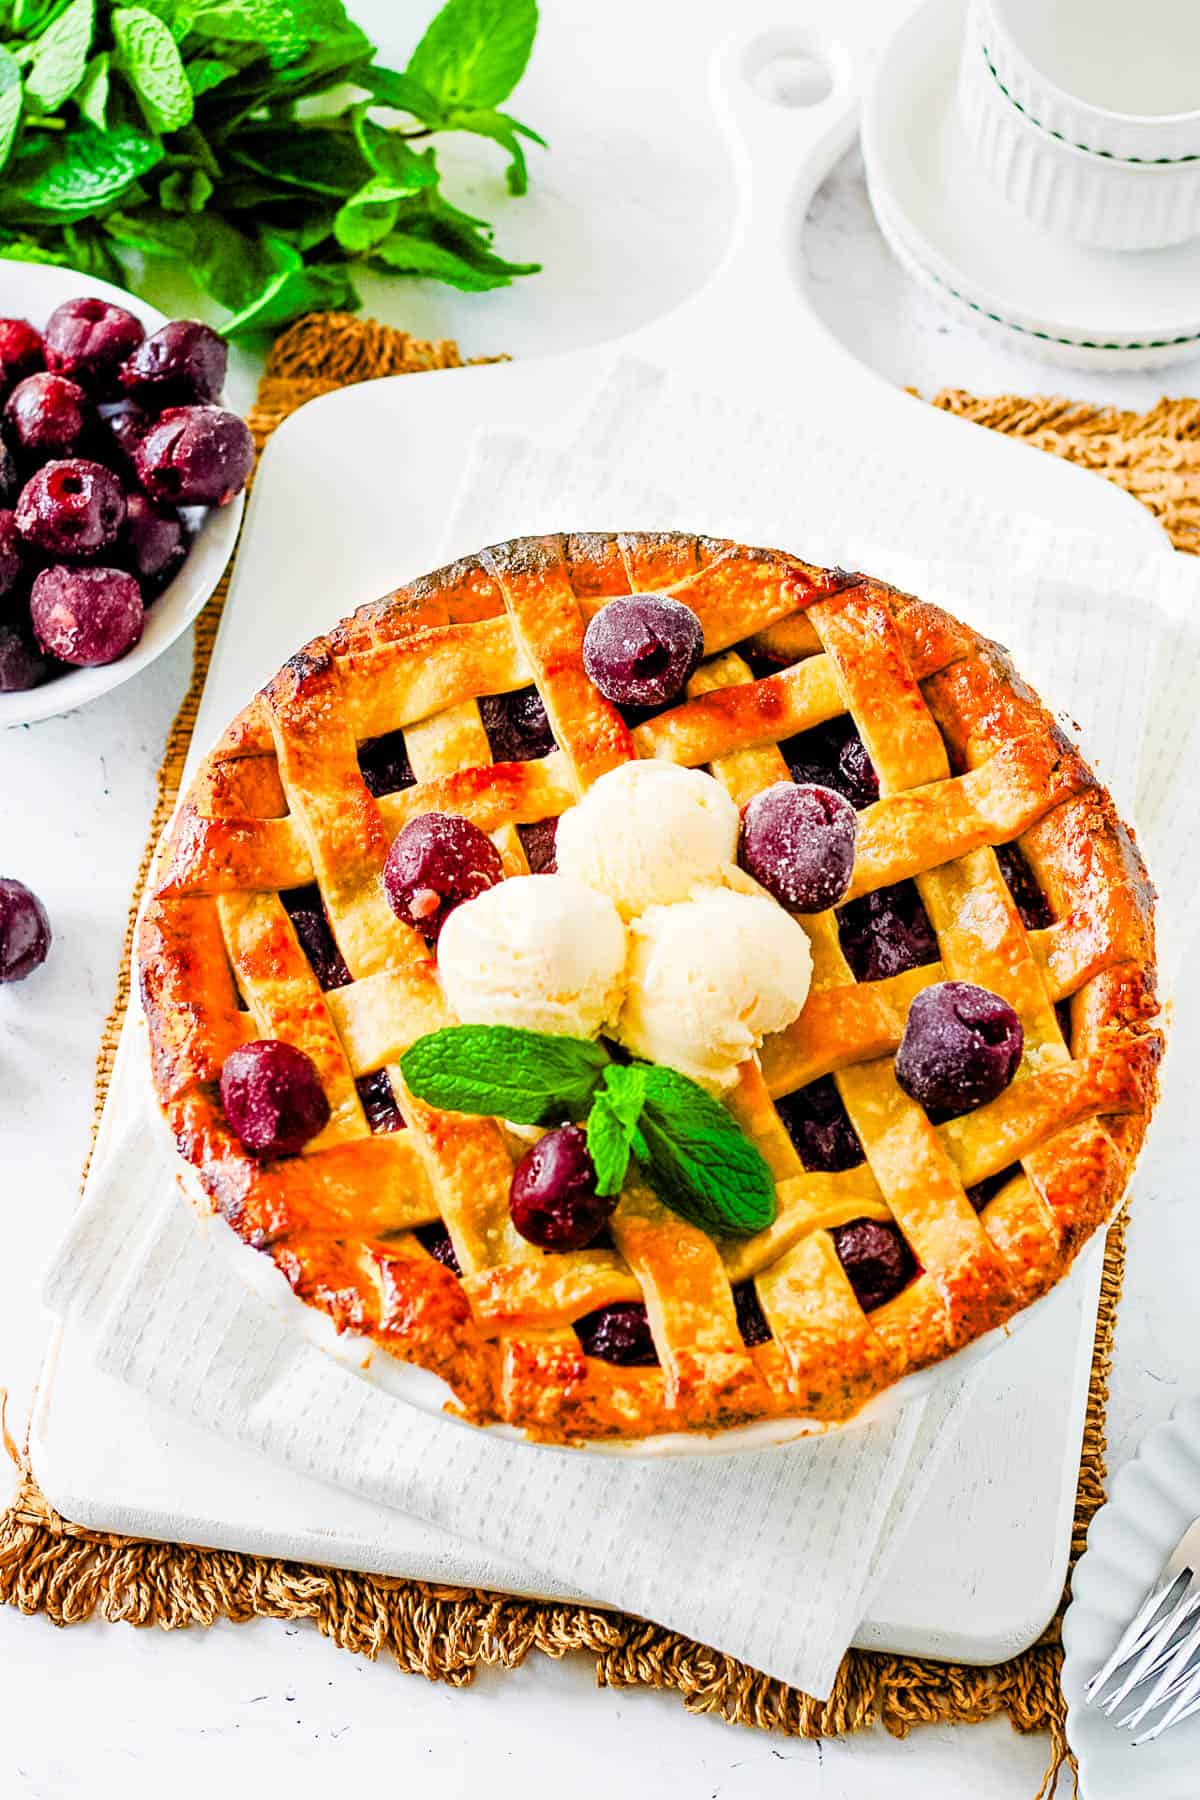
Fruit-based desserts like this cherry pie with frozen cherries are one of my favorite ways of incorporating natural sweetness and authentic flavor into baking without using too much refined sugar. This pie highlights the flavors of the cherries, while adding just enough richness to the crust and lattice to keep everything balanced. And if you prefer a dessert made with fresh fruit and a creamier finish, try my ricotta pie with dark chocolate and cherries instead.
This recipe became a staple after I could not find fresh cherries at any store and desperately needed them for my traditional Presidents’ Day treat. Usually, I make my cherry fritters since they have a long-running association with the day and George Washington. But with only frozen cherries at my disposal, I had to pivot and make a cherry pie instead, which luckily is another classic dessert for days like Presidents’ Day and the 4th of July. I was worried that my family and friends would be too disappointed by the absence of fritters to enjoy the pie, but I was wrong. Now every year I have to make 2 cherry desserts to avoid disappointment. Ha!
This cherry pie with frozen cherries offers so much more than convenience and great flavor. Cherries are naturally rich in antioxidants and vitamin C, which support overall health while also providing fiber that aids digestion. Using frozen cherries keeps the recipe easy without compromising nutritional value or flavor. And this is something that appeals to me as a nutritionist when I develop new dessert recipes.
The technique behind this recipe is as easy as pie. Ha! First, I start my pastry dough in a food processor before wrapping it up and chilling in the refrigerator. Then I cook all my filling ingredients over a low heat until thicken and set aside to cool. While it cools, I roll out my pastry and line my pie dish, prep my lattice, and give both components time in the fridge to chill. After filling and chilling, I place my pastry strips on top to form the lattice, then bake until the crust is a gorgeous golden color.
My youngest came home one afternoon, set on bringing this homemade cherry pie to class as part of his presentation on George Washington. That night, we researched the famous cherry tree legend and learned that it was actually invented by a biographer six years after Washington had died. I panicked and felt defeated while my kid thought it was hilarious that a famous story about honesty, which was passed down through American history, was made up. Ha! Either way, a pie was made, and a high grade was achieved. Although I reckon a fair bit of that is owed to the pie. Give this recipe a try and see if it earns top marks at your table too.
Latest Recipe Video!
🥘 Ingredients
For this cherry pie with frozen cherries, I use baking staples that each serve a clear purpose in this recipe. This is everything I use:
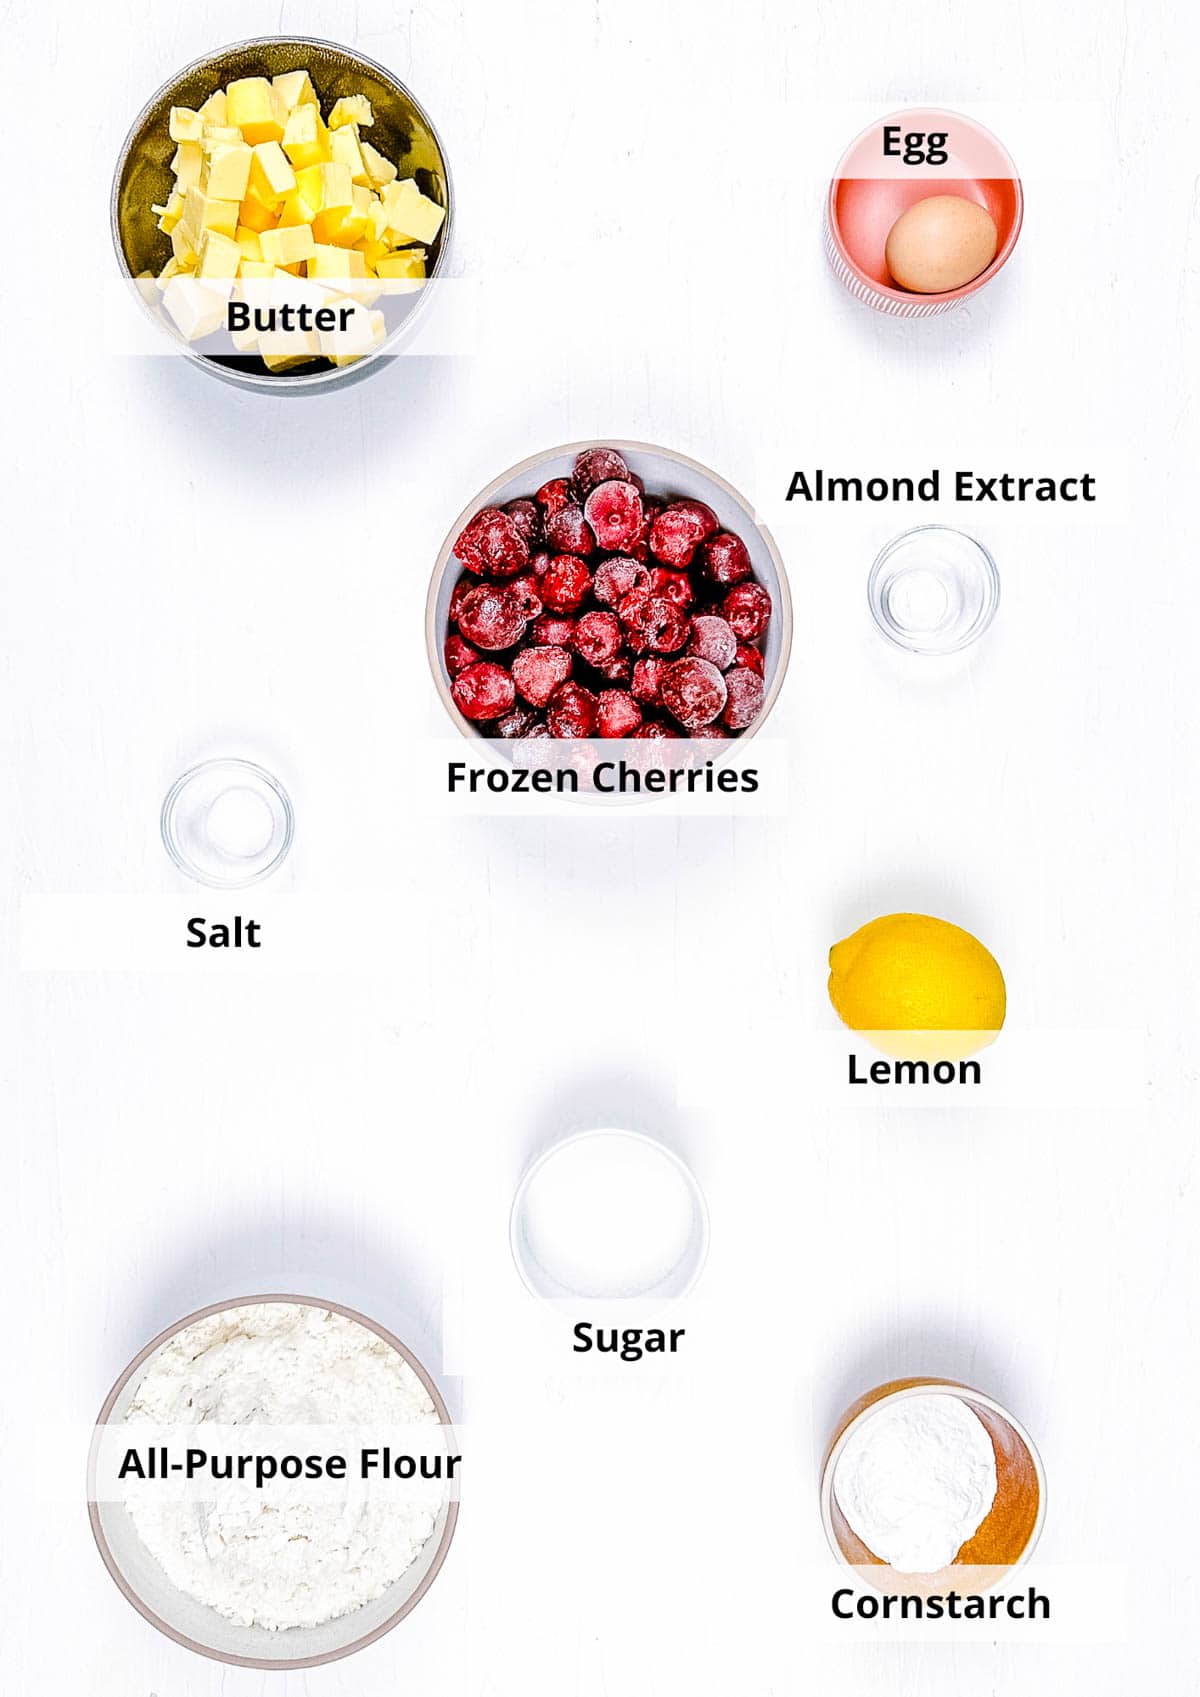
For the crust
All-purpose flour: I use this to help the crust keep its shape, while also staying tender as it bakes.
Sugar: I add a small amount to balance the flavor of the dough.
Salt: This enhances the overall taste of the crust.
Cold butter: I use cold butter to create flaky layers as it melts during baking.
Ice cold water: I add this gradually to bring the dough together without softening the butter.
For the filling
Frozen pitted cherries: I use these for convenience and a consistent flavor that I can count on year-round
Sugar: I adjust the amount depending on the sweetness of the cherries.
Lemon juice and zest: This brightens the filling and balances out the sweetness.
Almond extract: I add a small amount to enhance the natural cherry flavor.
Cornstarch: This helps thicken the filling, ensuring clean slices.
Butter: I add small pieces on top of the filling for an extra bit of richness.
For the topping
Egg: I brush this over the top crust for a golden finish.
Sugar: I sprinkle sugar over the lattice for a crispy texture and light sweetness.
🔪 How To Make
I make this cherry pie in stages and focus on getting each component right before bringing it all together. This is how I make it:
Prepare the pastry: I start by pulsing the flour, sugar, salt, and cold butter in a food processor until it forms small crumbs.
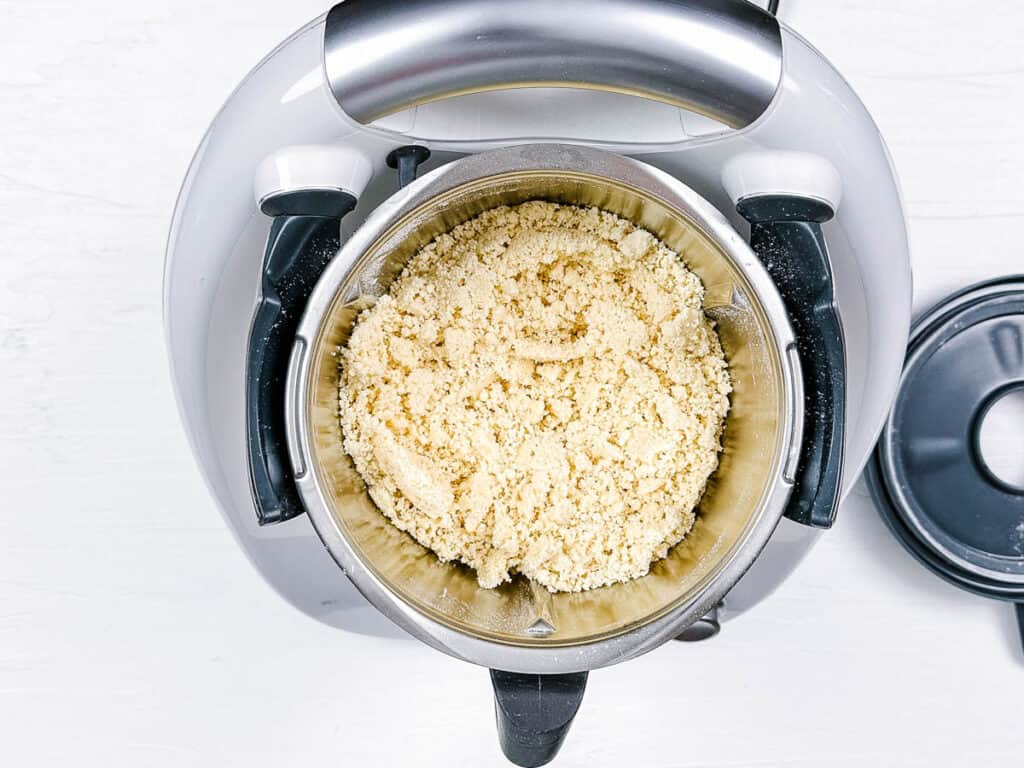
Form the dough: Then I slowly add the cold water until a dough forms.
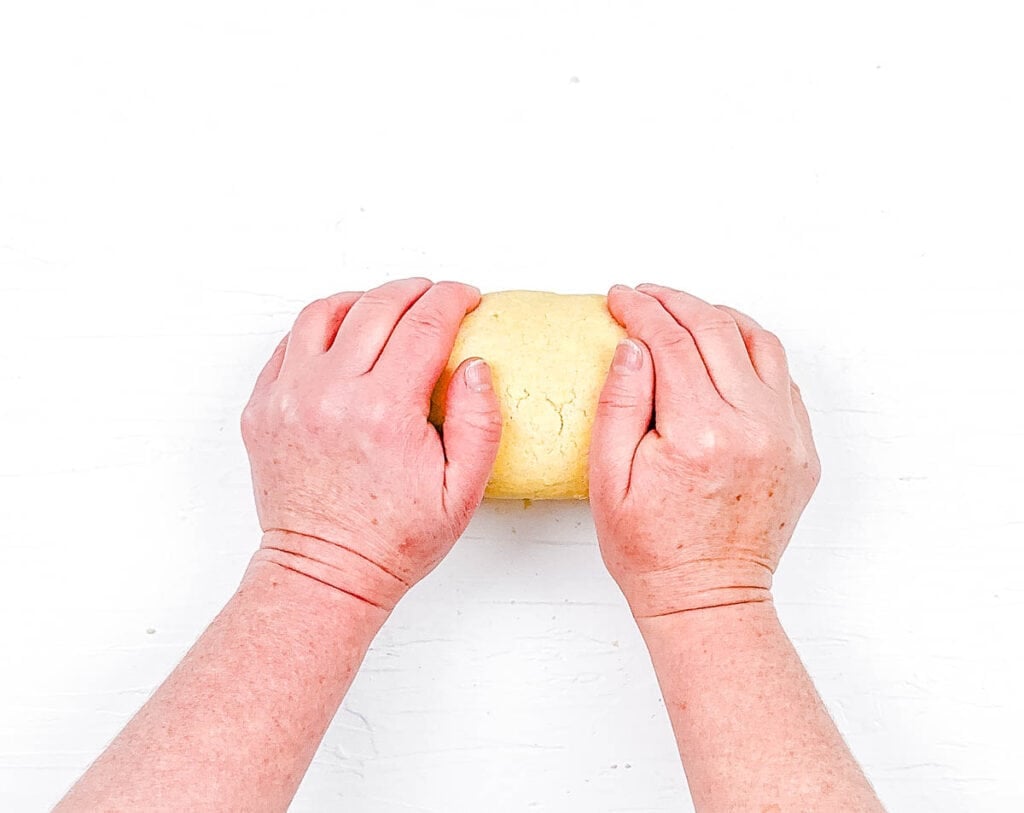
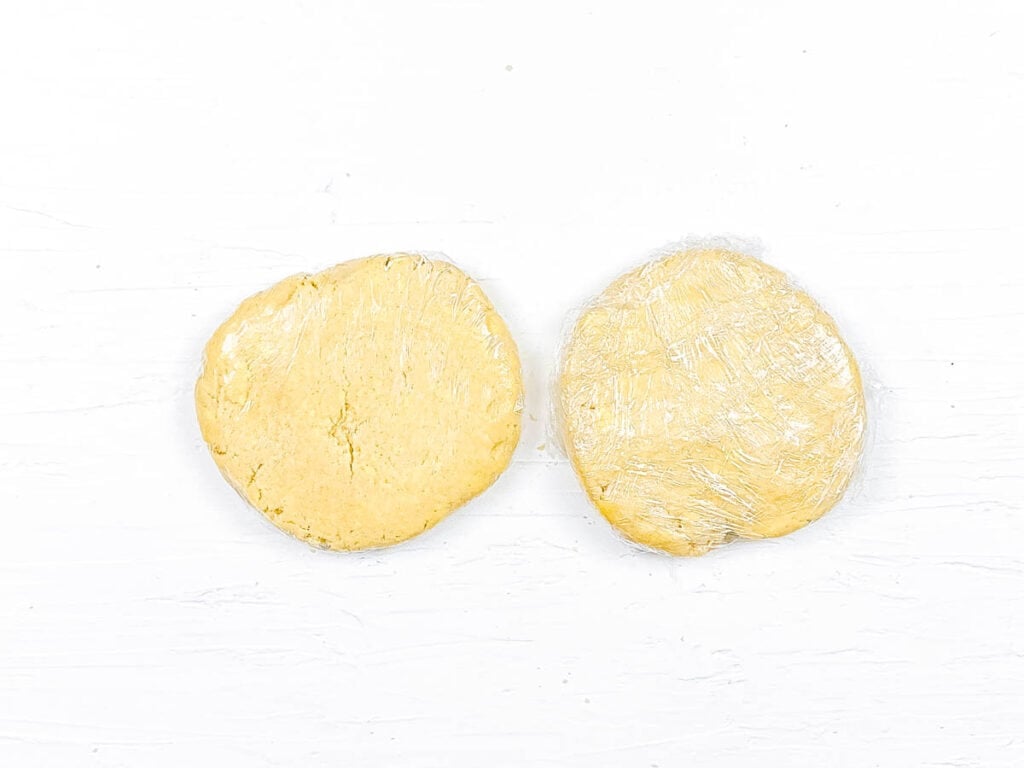
Chill dough: I divide the dough into 2 portions, wrap, and chill until firm.
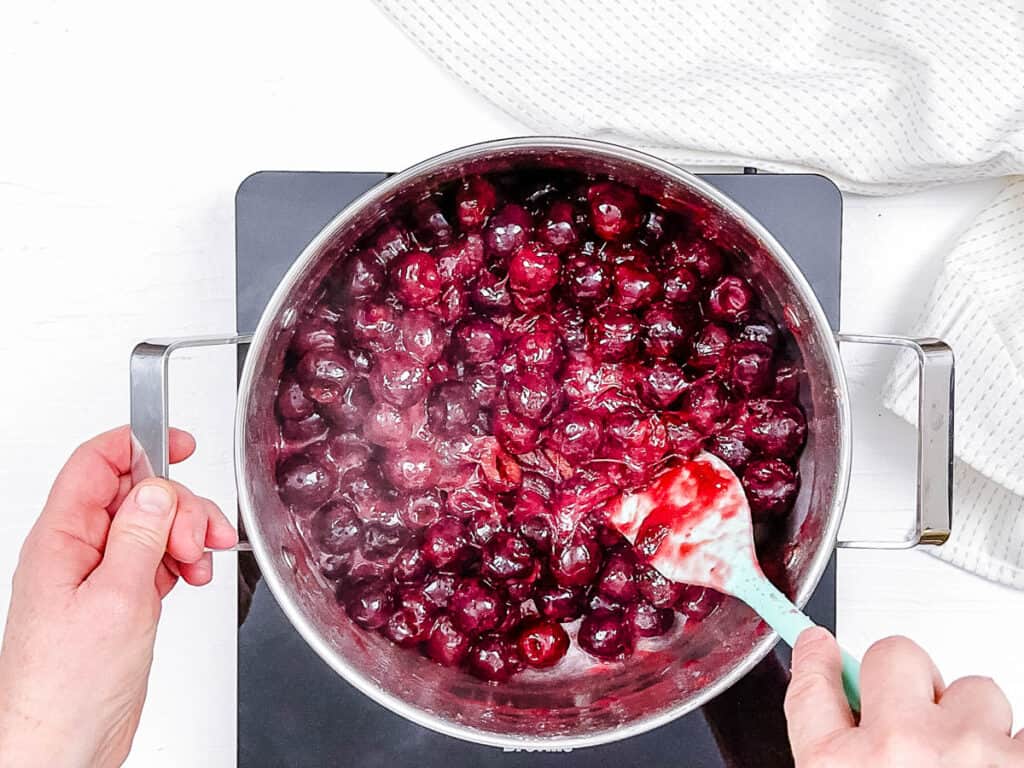
Combine filling ingredients: Next, I cook the cherries with sugar, lemon juice, zest, cornstarch, and almond extract over a low heat for 8-10 minutes until slightly thickened, and set aside to cool completely.
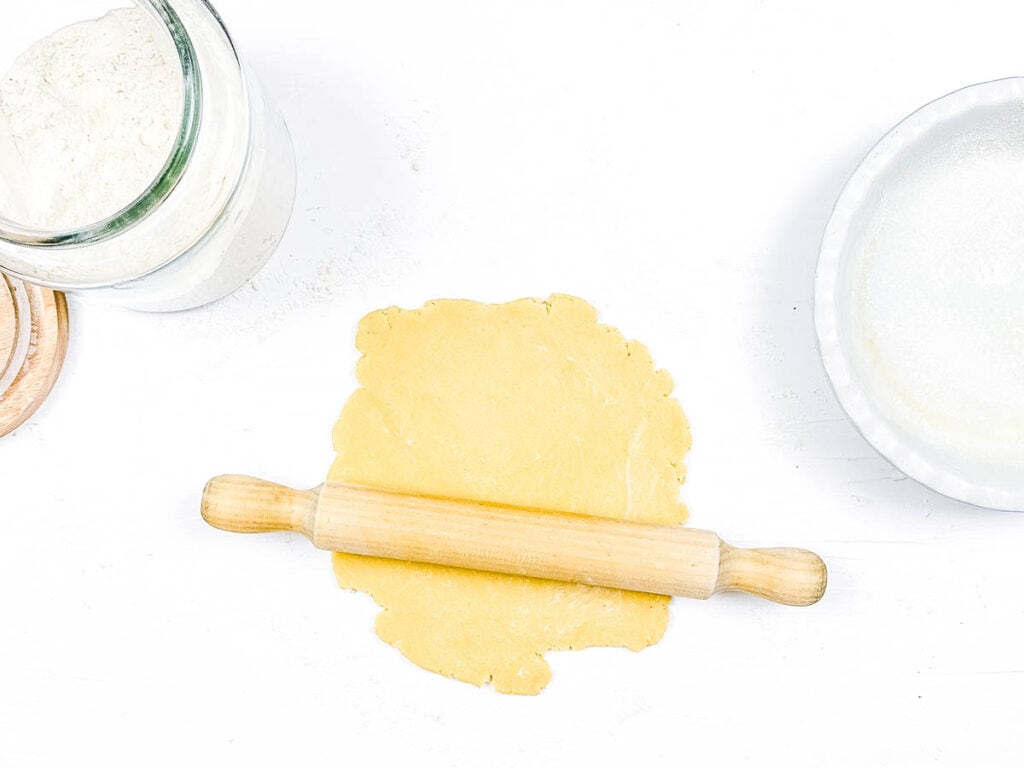
Roll out dough: Once the dough has chilled, I remove one portion from the fridge and roll it out into a circle 1/8 inch thick on a lightly floured surface.
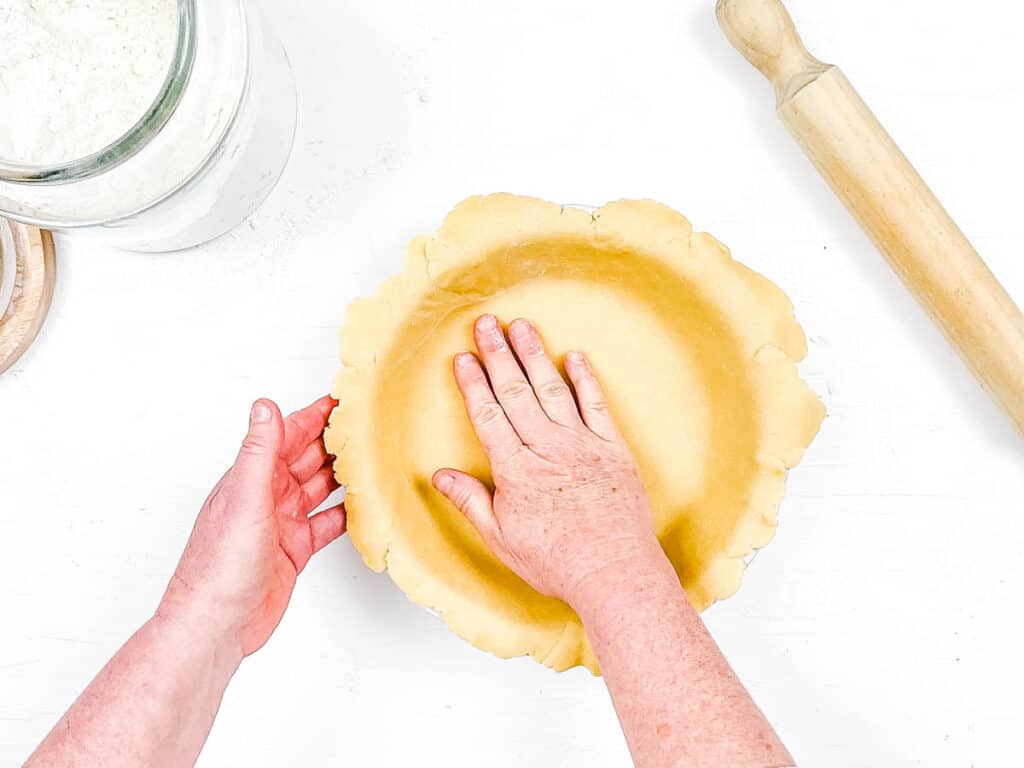
Add bottom crust: Then I line the pie dish with the rolled pastry, and press it into place gently.
Fill crust: I add my cooled filling into the crust and arrange the diced butter pieces over the top of the filling.
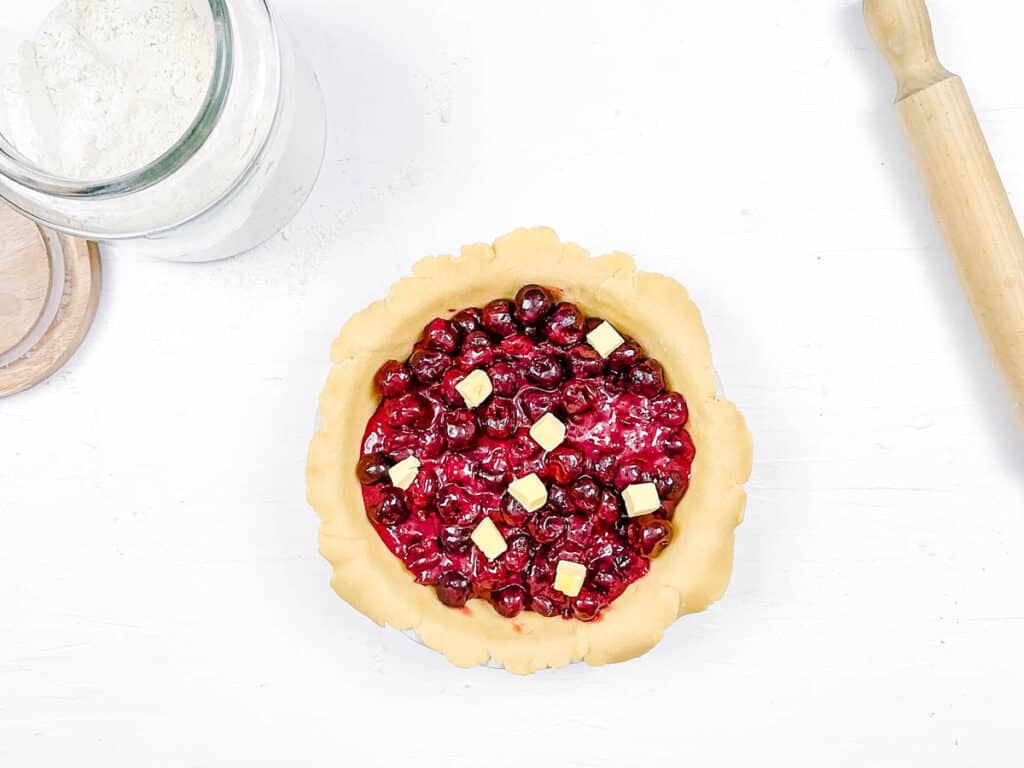
Chill, and prep lattice: I place the filled crust into the fridge to chill while I prep my lattice. I roll out the remaining pastry to 1/8 inch thick, large enough to cover the pie dish, then cut into 10 strips about 1 inch wide.
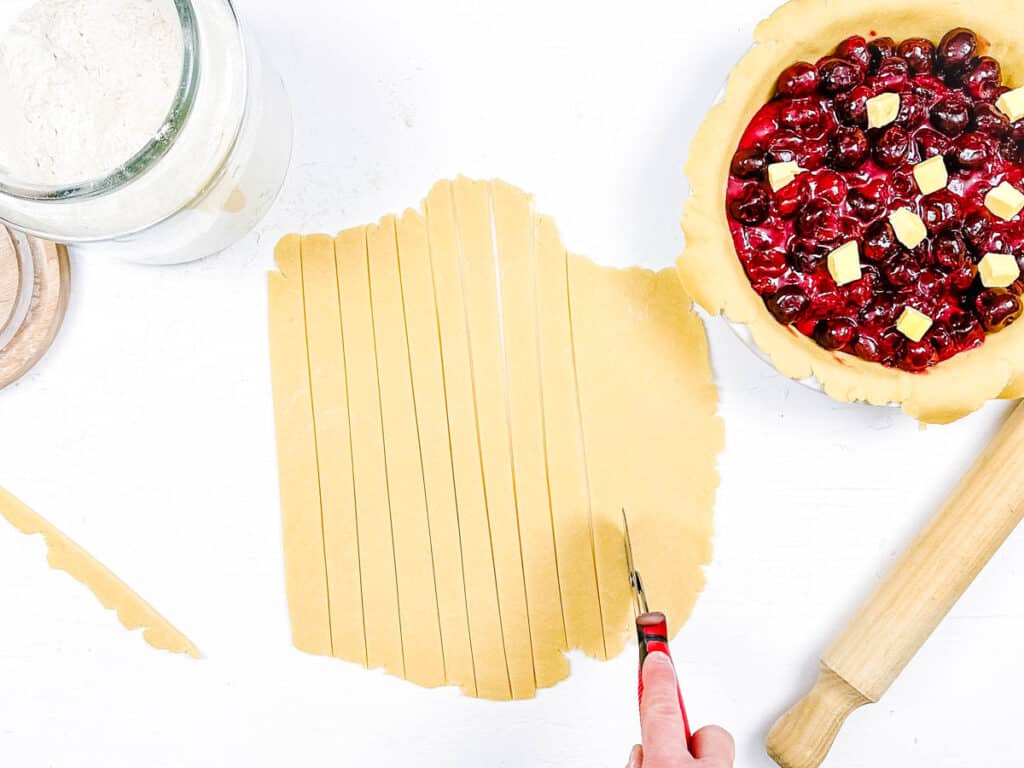
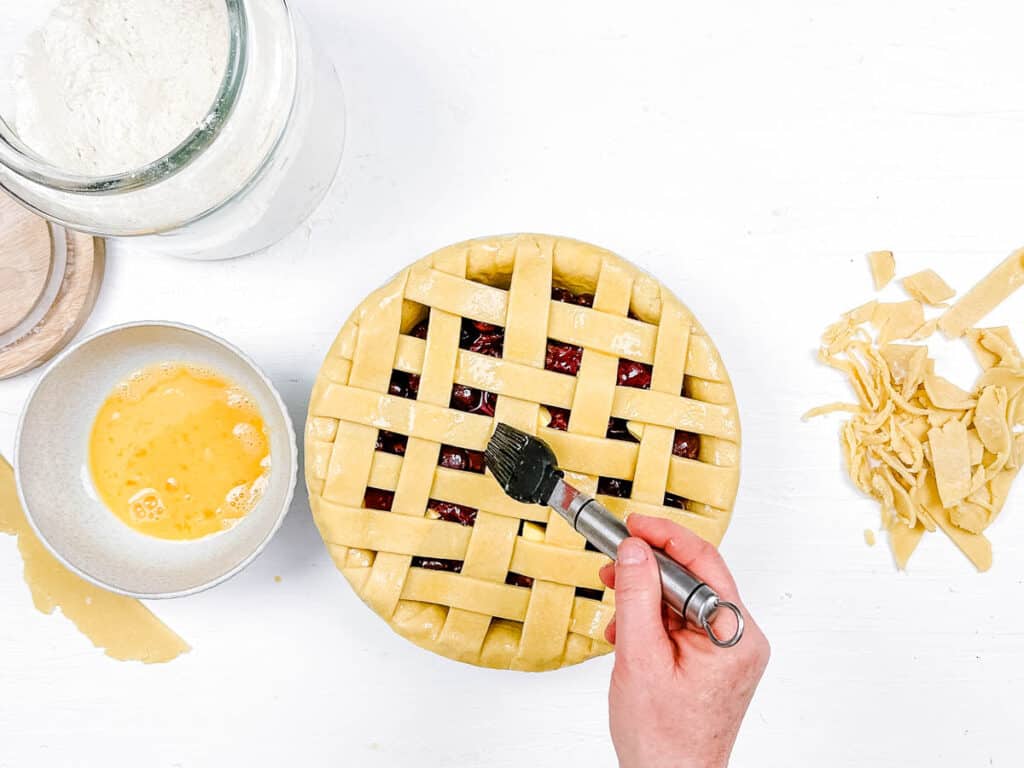
Add egg wash: Then I whisk my egg in a small bowl, and brush the edges of the pastry crust.
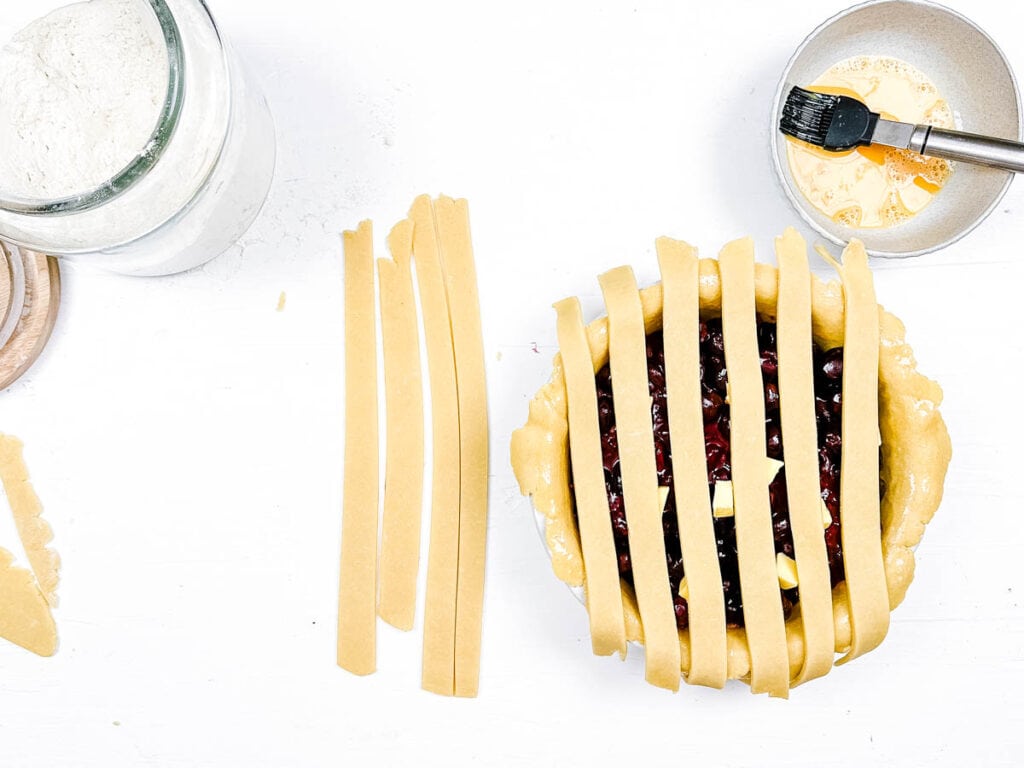
Form lattice: I lay 6 strips parallel over the top of the filling, leaving a small space between each. Then I fold back every second strip and lay the remaining 4 strips in a lattice design over the filling.
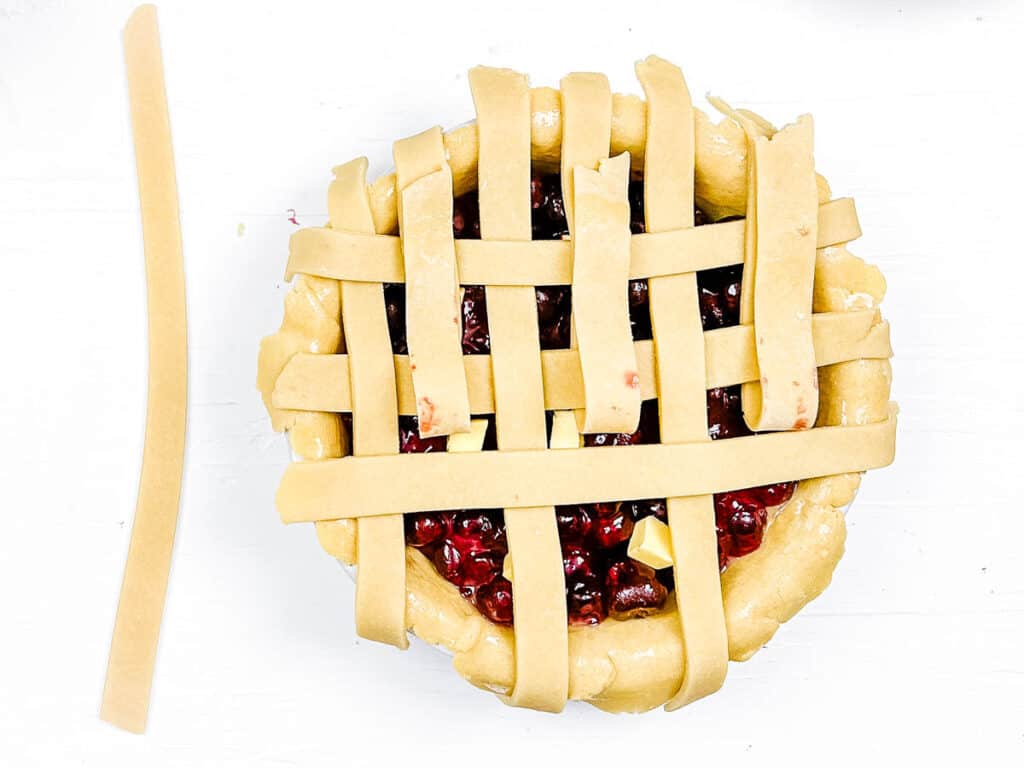
Trim edges and seal: Next, I trim the edges of the pastry and use my fingers to crimp and seal the edges. I chill the pie for another 30 minutes and preheat the oven to 350F.
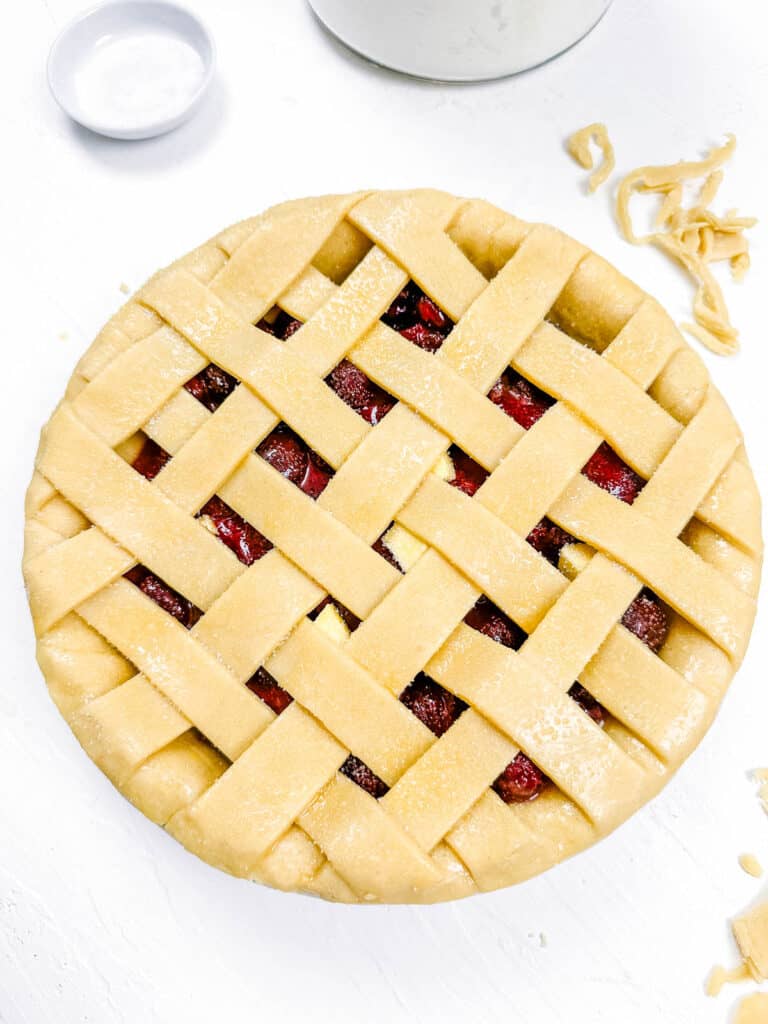
Brush top and sprinkle: Just before baking, I brush the top with my remaining egg wash and sprinkle with sugar.
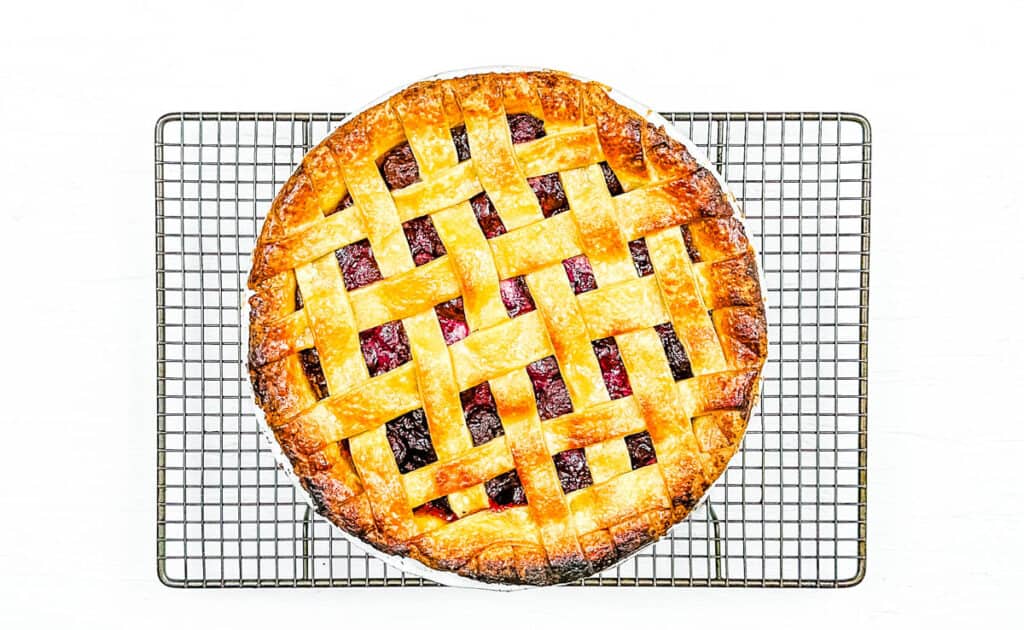
Bake, cool, and serve: Then I bake on the middle shelf for 40-50 minutes until the crust is golden. Once baked, I allow the pie to cool for 2 hours before serving.
My #1 Secret Tip for this cherry pie with frozen cherries recipe is to cook the filling before baking. If the filling goes into the crust uncooked, the fruit releases too much liquid as it bakes, which leads to a runny pie and soggy base. Cooking it briefly kicks start the cornstarch and thickens the mixture ahead of time.
Other Tips To Keep In Mind:
- Keep butter cold: I work quickly and keep the butter cold when making the dough. This creates small pockets in the crust, which bake into flaky layers.
- Chill before baking: Chilling the assembled pie before baking helps the crust retain its shape and prevent shrinking.
- Cut butter into uniform pieces: This processes more evenly than rough large chunks. It also means the fat is distributed consistently throughout the dough.
- Cool filling completely: Before adding it to the crust, I cool my filling down entirely to avoid melting the butter in the pastry.
- Weave lattice on parchment first: Rather than weaving my dough strips directly on top of the pie, I assemble it on a separate piece of parchment first, then carefully place it on top of the filling. This gives me more control and does not disturb the filling or make a mess.
📖 Variations
Since I use frozen cherries for this cherry pie, I make it often, which means I have had plenty of time to play around with the recipe. These are 3 of my favorite variations:
Classic crumble topping: I make a classic crumble topping by adding 1 cup flour, 1/2 cup brown sugar, 1/2 cup oats, and 1 teaspoon cinnamon to a food processor with 8 tablespoons of cold cubed butter and pulsing until coarse crumbs form. I love the rustic texture and always finish off with a dusting of powdered sugar before serving.
Berry medley filling: I swap half the cherries for blueberries and raspberries. You can use fresh or frozen berries. I love making this pie with frozen berries and using it as a pick-me-up during gloomy seasons.
Patriotic finish: If I am making this for Presidents’ Day or the 4th of July, I use a star-shaped cookie cutter and cover 1/3 of the pie in stars and the rest in horizontal stripes. My husband loves getting involved in the lattice work, and this was one of his first recipes.
🍽 Serving Suggestions
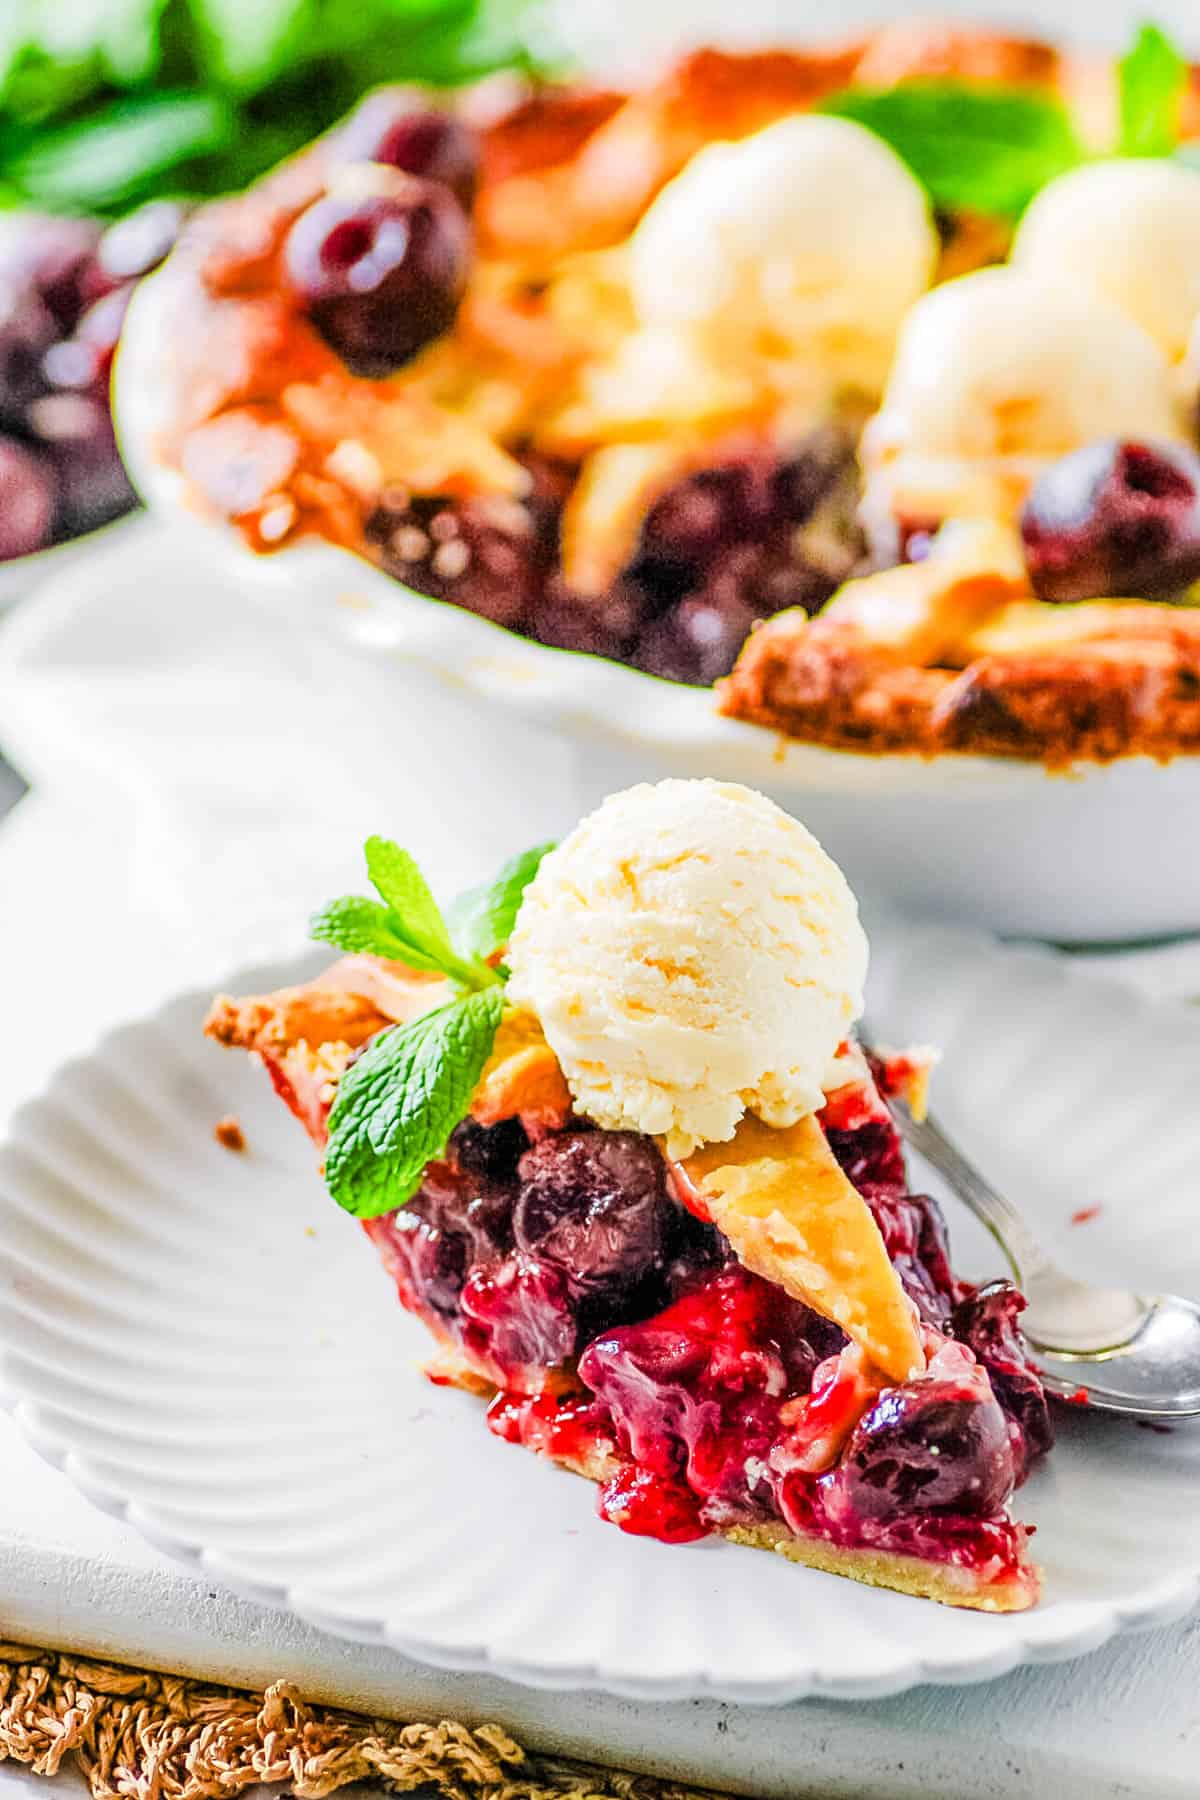
When I serve this cherry pie, I like to focus on the fruit and crust. If, like me, you enjoy your pies without much adornment, then I recommend serving them with a dollop of vegan whipped cream. This is an iconic topping for fruit pies as it does not overshadow the flavors. And when it comes to beverages, I have discovered that drinks with a few spicy notes, like my vegan horchata, complement the flavor of the baked fruit.
My kids do not subscribe to the simple topping ideation and have added all manner of things to their cherry pies. Most recently, it was a scoop of lychee ice cream, which was then followed by a swirl of my blackberry simple syrup. This was all enjoyed with a hearty glass of coconut milkshake. I cannot wait to see what they try next. Ha!
🧊 Storing And ♨️ Reheating
Refrigeration: I store leftover pie covered in the refrigerator for up to 4 days.
Freezing: I freeze either baked or unbaked pie for up to 3 months.
Reheating: If frozen, I allow the pastry to thaw in the refrigerator until it has softened. Then reheat slices or the whole pie in the oven until warmed through and the crust has become crisp again.
❓Recipe FAQs
Fresh cherries are wonderful for this pie, but it would require some extra work. I usually set aside more time to prep and pit the cherries individually before cooking down the filling. I also keep an eye on the mixture as fresh cherries will not release as much liquid. To fix this, I add 1-2 tablespoons of water or cherry juice. It is also important to taste the cooked filling and adjust the sweetness since fresh cherries can vary in taste, with some being quite tart.
This usually happens when the dough is too cold. I like giving the dough 5-8 minutes at room temperature before rolling it out. If it cracks at the edges, I simply press them back together and continue rolling.
Yes, a full covering can work well, as long as you follow certain steps. I start by rolling the second dough disc into a circle large enough to cover the entire dish, then carefully lay it over the filling. Then I crimp the edges to seal, and cut a few slits into the top, along with a small “X” shape in the center to allow the steam to escape. A covered pie will also require a longer rest and cooling period.

Love this plant based dessert recipe? Please leave a 5-star rating 🌟 in the recipe below and/or a review in the comments section further down the page!
You can also FOLLOW ME on FACEBOOK, INSTAGRAM, and PINTEREST to see more delicious, healthy, family-friendly food, and if you have any questions, I’m here to help!
📋 Recipe Card
Cherry Pie With Frozen Cherries
Nothing beats a homemade fruit pie, and if it is a classic like this cherry pie with frozen cherries, you have a guaranteed winner of a recipe. I use frozen cherries, lemon zest, and almond extract to create a bright and slightly tart filling layered under a crisp golden top that can be made any time of the year, no matter what fruit is in season.
Servings: 16 slices
Calories: 290kcal
-
Prepare the pastry: place the flour, sugar and salt into the bowl of a food processor and pulse several time to combine.
-
Next, add the diced cold butter to the flour mixture and continue to pulse until the butter resembles small pea sized pieces.
-
While the food processor is running pour in cold water until a dough begins to form.
-
Transfer the dough to a bench and bring the dough together, divide in half and form 2 discs.
-
Wrap in plastic wrap and chill in the fridge for at least an hour.
-
Meanwhile prepare the filling by mixing the sugar, lemon juice, zest, cornstarch, almond extract and frozen cherries.
-
Stir continuously over a low heat until the mixture has thickened, this may take between 8-10 minutes.
-
Remove from the heat and cool to room temperature.
-
Once the dough has chilled remove one disc and roll it into a circle approximately ⅛ inch thick on a lightly floured bench to fit a 9 inch pie dish.
-
Line the pie dish with pastry and fill with the cooled cherry filling. Arrange the diced butter pieces over the filling.
-
Place the pie in the fridge while preparing the top layer of pastry.
-
Roll the remaining pastry approximately ⅛ inch thick and large enough to cover the pie dish.
-
Cut the pastry into 10 strips approximately 1 inch wide, these will be used to top the pie.
-
Whisk the egg in a small bowl and brush the edges of the pastry.
-
Lay 6 strips parallel over the top of the pie, leaving a small space between each strip.
-
Fold back every second strip and lay the remaining 4 strips in a lattice design over the pie.
-
Weave the strips over and under each other to cover the pie filling.
-
Trim the edges of the pastry with a knife.
-
Using your fingers, crimp the pastry to seal the edges.
-
Chill the pie for another 30 minutes.
-
Preheat the oven to 350 degrees F / 180 C.
-
Brush the top of the pie with the whisked egg and finish off with a sprinkle of sugar.
-
Bake on the middle shelf of the oven for 40-50 minutes.
-
Remove form the oven and allow to cool for 2 hours before serving and enjoying.
- My #1 Secret Tip for this cherry pie with frozen cherries recipe is to cook the filling before baking. If the filling goes into the crust uncooked, the fruit releases too much liquid as it bakes, which leads to a runny pie and soggy base. Cooking it briefly kicks start the cornstarch and thickens the mixture ahead of time.
- Keep butter cold: I work quickly and keep the butter cold when making the dough. This creates small pockets in the crust, which bake into flaky layers.
- Chill before baking: Chilling the assembled pie before baking helps the crust retain its shape and prevent shrinking.
- Cut butter into uniform pieces: This processes more evenly than rough large chunks. It also means the fat is distributed consistently throughout the dough.
- Cool filling completely: Before adding it to the crust, I cool my filling down entirely to avoid melting the butter in the pastry.
- Weave lattice on parchment first: Rather than weaving my dough strips directly on top of the pie, I assemble it on a separate piece of parchment first, then carefully place it on top of the filling. This gives me more control and does not disturb the filling or make a mess.
Serving: 1slice | Calories: 290kcal | Carbohydrates: 39g | Protein: 4g | Fat: 14g | Saturated Fat: 9g | Polyunsaturated Fat: 1g | Monounsaturated Fat: 4g | Trans Fat: 1g | Cholesterol: 45mg | Sodium: 147mg | Potassium: 174mg | Fiber: 2g | Sugar: 17g