
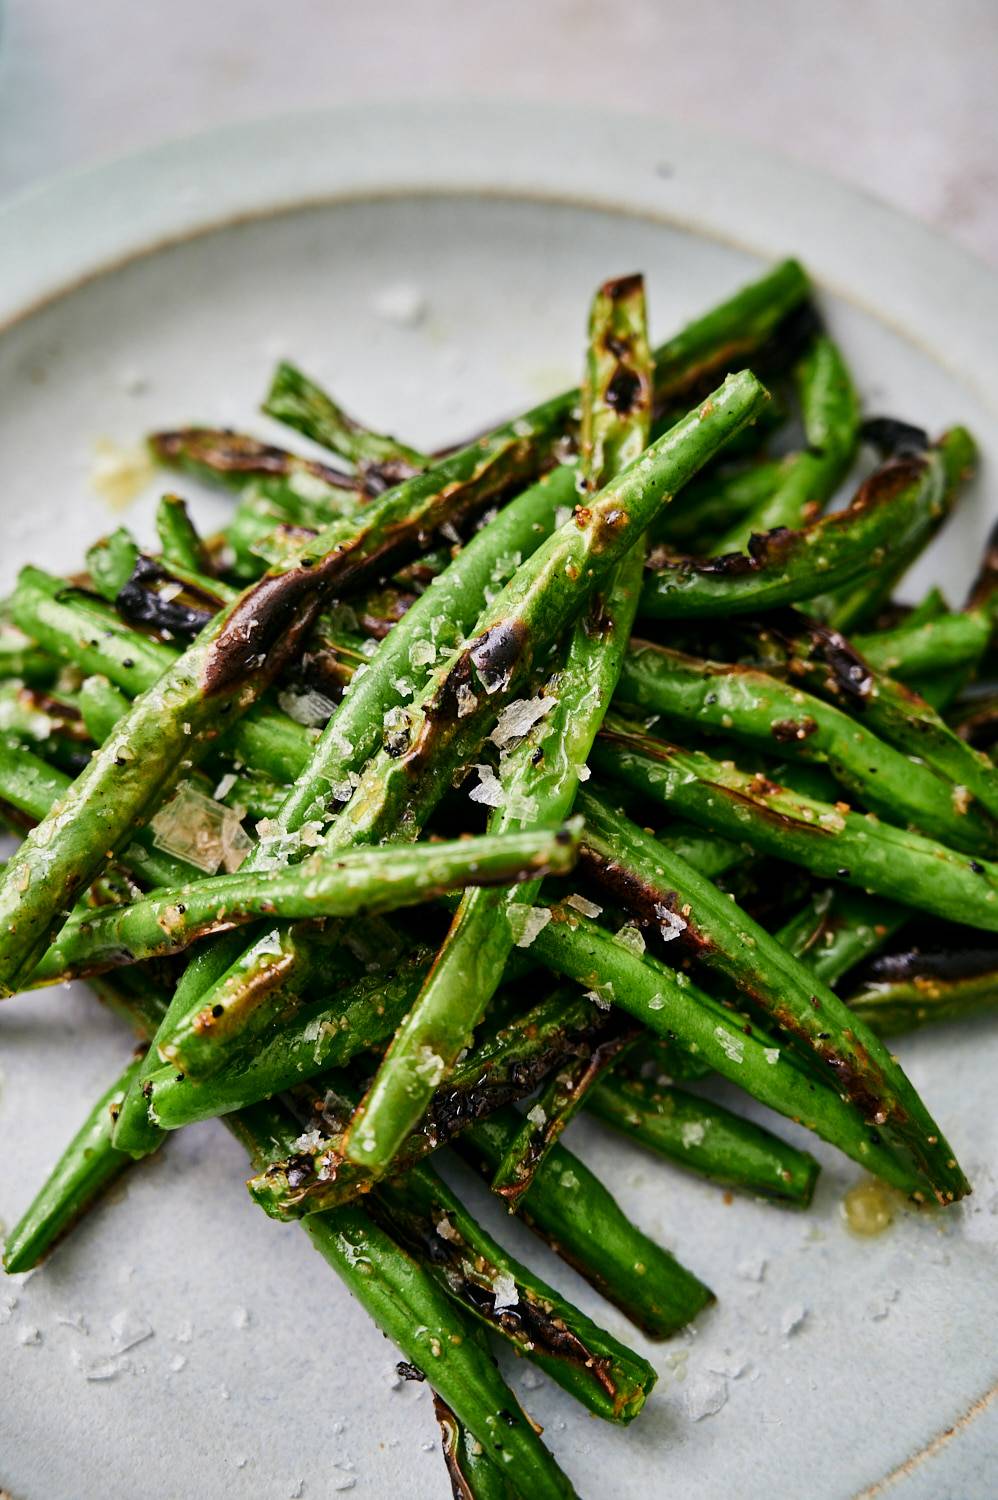
This Grilled Green Beans Recipe turns fresh green beans into a smoky, tender-crisp side in just 10 minutes! Garlic, olive oil, salt, and pepper keep the flavor simple enough to pair with almost any grilled meal.
Fresh green beans deserve a spot beside the burgers, chicken, and steaks at your next Labor Day BBQ! The grill gives them blistered, crispy edges while the centers stay bright green with a satisfying bite.
Add these to your list of easy Labor Day side dishes when you need something fresh to balance richer cookout favorites. They cook quickly, keep the oven off, and taste great with grilled meats, seafood, pasta salad, coleslaw, and corn. You can even customize them with any spice, herb, or seasoning blend, depending on what you’re cooking!
I always make a few extra because leftover green beans are great in salads, wraps, and scrambles the next day. Plus, my family starts eating them right as they’re coming off the grill!
Before You Get Started
A few simple choices will help the beans brown properly and stay tender inside.
- Choose fresh beans: Look for firm, bright green beans that snap when bent. Avoid soft, wrinkled, or heavily spotted beans, since older beans can stay stringy after cooking.
- Dry them well: Water left on the beans creates steam inside the grill basket. Pat them completely dry after washing so the surface can blister.
- Use a grill basket: A perforated metal basket or grill pan lets heat and smoke reach the beans while keeping them above the flames. A cast-iron skillet or heavy-duty foil also works.
- Choose the right fat: Olive oil or avocado oil coats the beans without overpowering them. Save butter for finishing since it can burn over direct heat.
How to Grill Green Beans
The beans need only a few minutes per side once the grill and basket are fully heated.
1. Wash and Trim the Beans
Wash the green beans and dry them thoroughly. Trim off the firm stem end from each bean, leaving the thin tapered tips intact.
2. Season the Green Beans
Stir the olive oil, garlic powder, kosher salt, and black pepper together in a large bowl. Add the green beans and toss until every bean has a light, even coating.
Pro tip: Mixing the oil and seasonings before adding the beans helps distribute the garlic powder and salt evenly.
3. Preheat the Grill Basket
Heat the grill to medium-high, around 400°F to 450°F. Place the empty grill basket on the grates for at least 5 minutes.
A properly heated basket starts browning the beans immediately instead of slowly steaming and softening them.
4. Grill Until Tender-Crisp
Spread the green beans inside the hot basket. Close the grill and cook for 3 to 4 minutes without disturbing them.
Shake the basket to turn the beans, then cook for another 3 to 4 minutes. They’re ready when they are bright green with blistered brown spots and a tender center that still has some snap.
Pro tip: Thicker beans may need another 1 to 2 minutes. Move the basket to a cooler area of the grill if the outside is browning faster than the center is cooking.
Other Ways to Grill Green Beans
A grill basket gives you the strongest combination of browning and control, but these methods work with equipment you may already have.
Open Foil Tray
Fold up the edges of a large sheet of heavy-duty foil to create a shallow tray. Heat it directly on the grill, then spread the seasoned beans over the surface.
Shake or turn the beans as they cook. The solid foil blocks some direct heat, so the beans will have fewer charred spots than those cooked in a perforated basket.
Sealed Foil Packet
Place the seasoned green beans in the center of heavy-duty foil and seal the edges tightly. Grill the packet for 8 to 10 minutes, carefully opening it to check the texture.
The trapped steam creates softer, more tender beans with less browning. This method works well for anyone who prefers green beans without much snap.
Cast-Iron Skillet
Preheat a cast-iron skillet directly on the grill, then add the seasoned beans. Cook for 6 to 8 minutes, stirring once or twice.
The hot skillet creates good surface browning and keeps every bean safely above the grates.
Flavor Ideas for Grilled Green Beans
The basic garlic seasoning works with nearly any main dish, but these finishes can take the beans in a completely different direction.
- Lemon Parmesan: Add fresh lemon juice and grated Parmesan as soon as the beans leave the grill. The sharp, salty finish is especially good with chicken and seafood.
- Cajun: Replace the garlic powder, salt, and pepper with Cajun Seasoning for a smoky side with a little heat.
- Old Bay: Season the beans with Old Bay before grilling, then finish them with lemon for an easy seafood-friendly side.
- Balsamic: Add a small splash of balsamic vinegar after grilling. The vinegar stays bright, and its natural sugars do not have a chance to scorch. I also love using this Balsamic Marinade for Grilled Vegetables!
- Tomato and onion: Grill the beans with sliced onion and cherry tomatoes for a colorful vegetable mix with sweet, juicy flavor.
- Garlic herb butter: Toss the hot beans with melted butter, minced garlic, and chopped parsley or chives. Adding the fresh garlic at the end protects it from the direct heat.
Recipe Tips and Tricks
These small adjustments solve the most common texture and browning problems.
- Avoid overcrowding: A standard basket works best with about one pound of beans. Grill larger amounts in batches so moisture can escape.
- Let them brown: Resist shaking the basket constantly. The beans need a few undisturbed minutes against the hot metal to develop charred spots.
- Adjust for size: Thin green beans may finish a minute or two early, while broad Romano beans usually need additional time.
- Measure the oil: One tablespoon is enough to coat a pound of beans. Extra oil can make them greasy and cause flare-ups.
- Serve them promptly: The beans will still taste good at room temperature, but their crispest texture is right after grilling.
What to Serve with Grilled Green Beans
These green beans are an easy addition to a weeknight dinner, summer cookout, or Labor Day BBQ menu!
- Best Grilled Chicken Thighs: The sweet and savory soy, honey, Dijon, and rosemary marinade works beautifully with garlicky green beans.
- Grilled Pork Chops: Juicy pork chops with garlic and thyme make a hearty main dish without competing with the simple vegetable seasoning.
- The Best Coleslaw with Greek Yogurt: Crisp cabbage, carrots, herbs, and creamy Greek yogurt dressing add a cool contrast to the warm beans.
- Easy Corn Salad: Fresh corn, tomatoes, cucumbers, red onion, and basil bring plenty of color to a summer cookout plate.
- Grilled Vegetable Pasta Salad: Pasta, feta, fresh herbs, and balsamic-marinated vegetables make a substantial side for parties and barbecues.
- Grilled vegetable platter: Pair the beans with Garlic Grilled Broccoli and Grilled Cauliflower for a colorful spread cooked entirely outside.
For a different serving option, turn the beans into a grilled vegetable salad with cherry tomatoes, shallots, feta, lemon juice, and olive oil. Add chickpeas, arugula, goat cheese, and fresh basil to make it hearty enough for a vegetarian lunch.
Storage & Reheating
The beans lose some of their initial snap in the refrigerator, but the leftovers are still useful in quick meals.
- Storage: Refrigerate leftover grilled green beans in an airtight container for up to 3 days.
- Freezer: Freeze the cooled beans in a freezer-safe container for up to 3 months. Thawed beans have a softer texture and work best in soups, casseroles, and egg dishes.
- Reheating: Warm the beans in a hot cast-iron skillet, under the broiler, or on the grill for a few minutes. The microwave heats them quickly but will leave them softer.
- Leftovers: Add leftover green beans to salads, wraps, and scrambles. Change the flavor with a different spice, herb, or seasoning blend to help them fit the next meal.