
This post may contain affiliate links. As an Amazon Associate, I earn from qualifying purchases. Please read my disclosure.
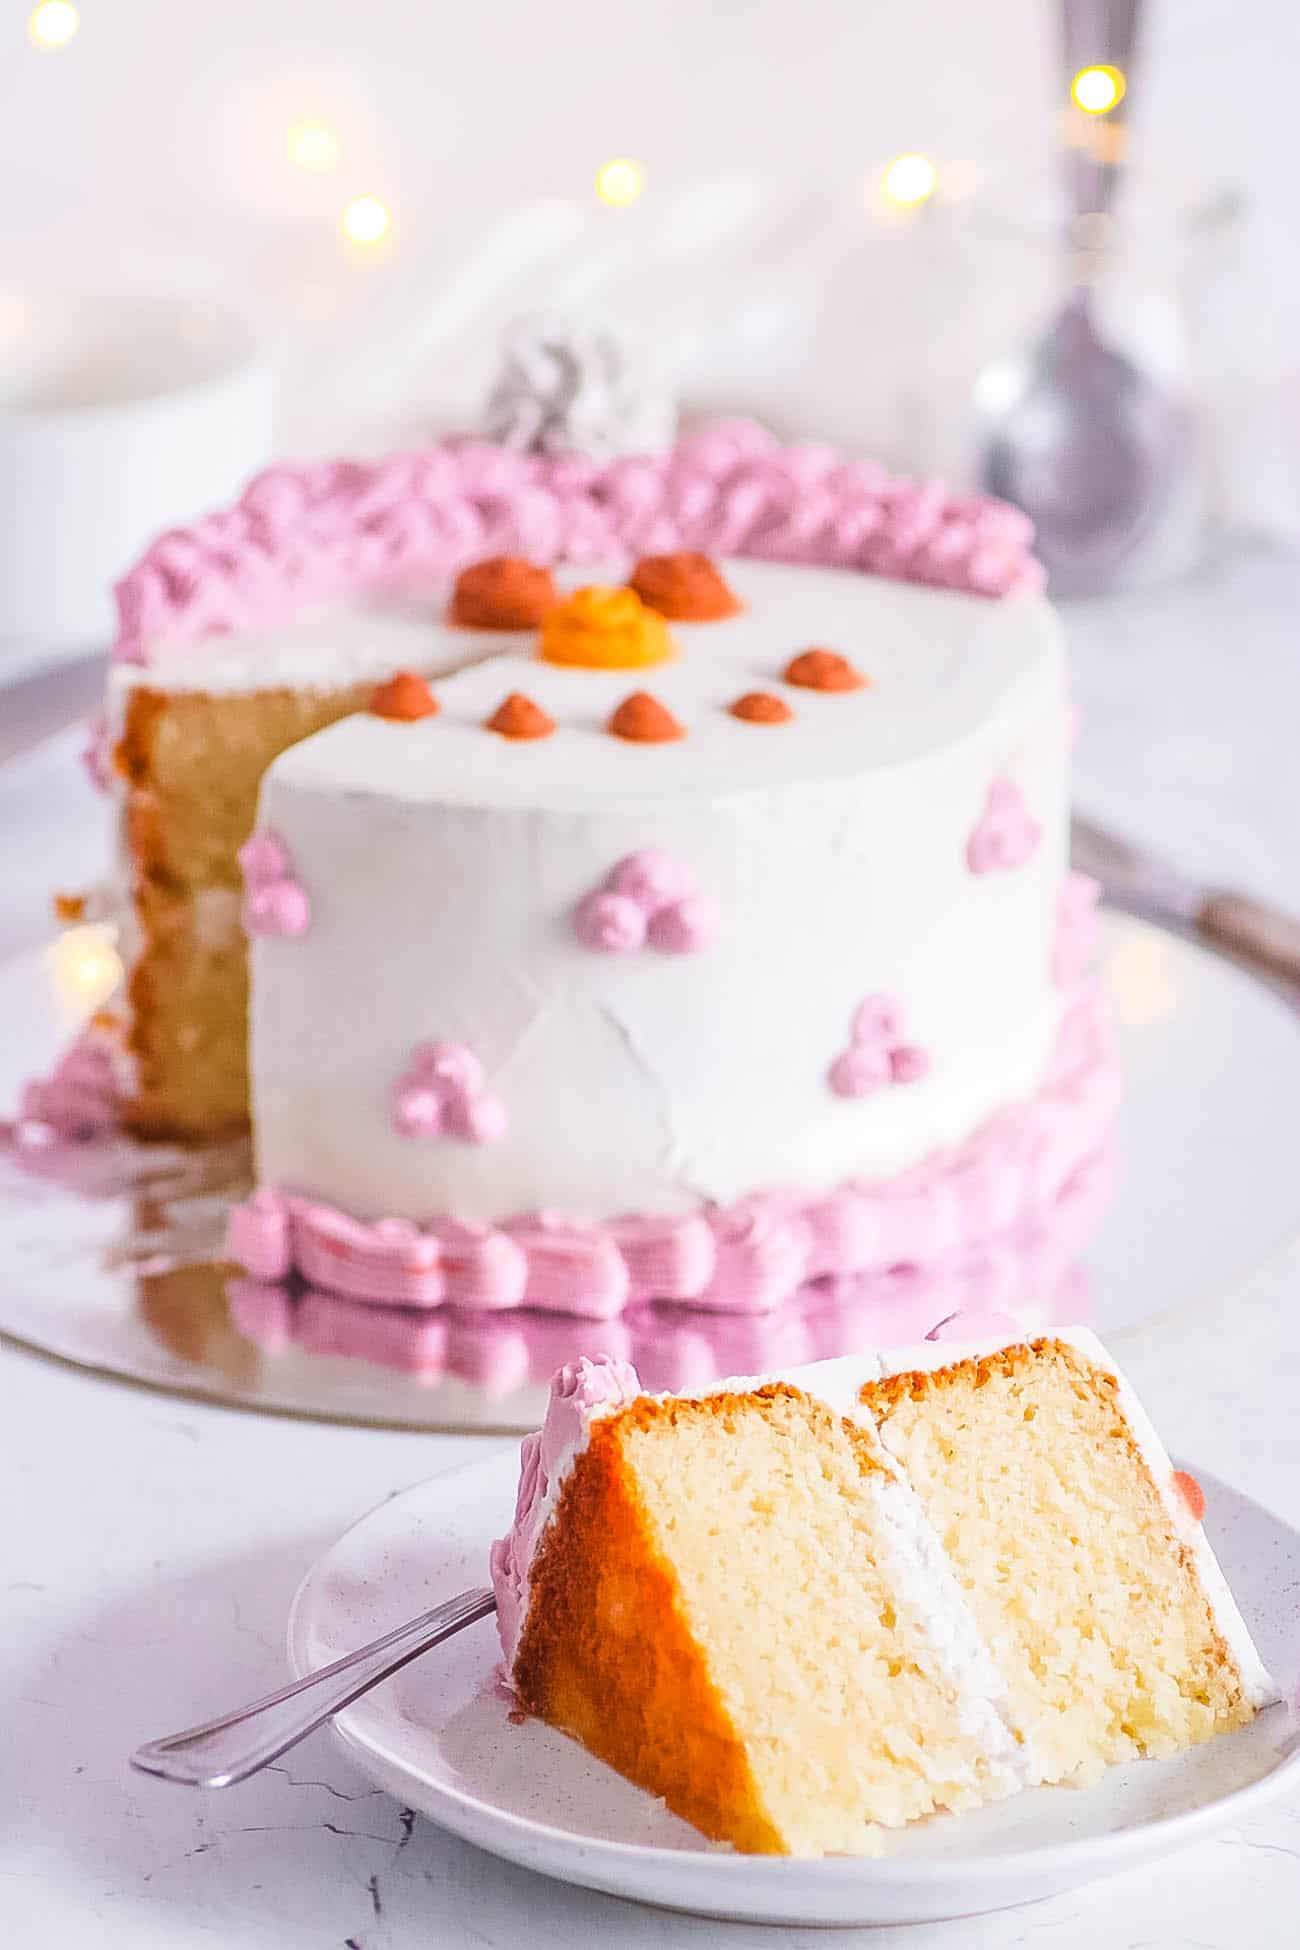
This winter onederland cake combines soft vanilla cake layers, thick whipped coconut frosting, and a simple piped snowman decoration into one adorable winter-themed dessert. It stays moist and fluffy while the frosting keeps the finish light instead of overly rich. This cake is ideal for winter birthdays, holiday gatherings, and cozy family celebrations.
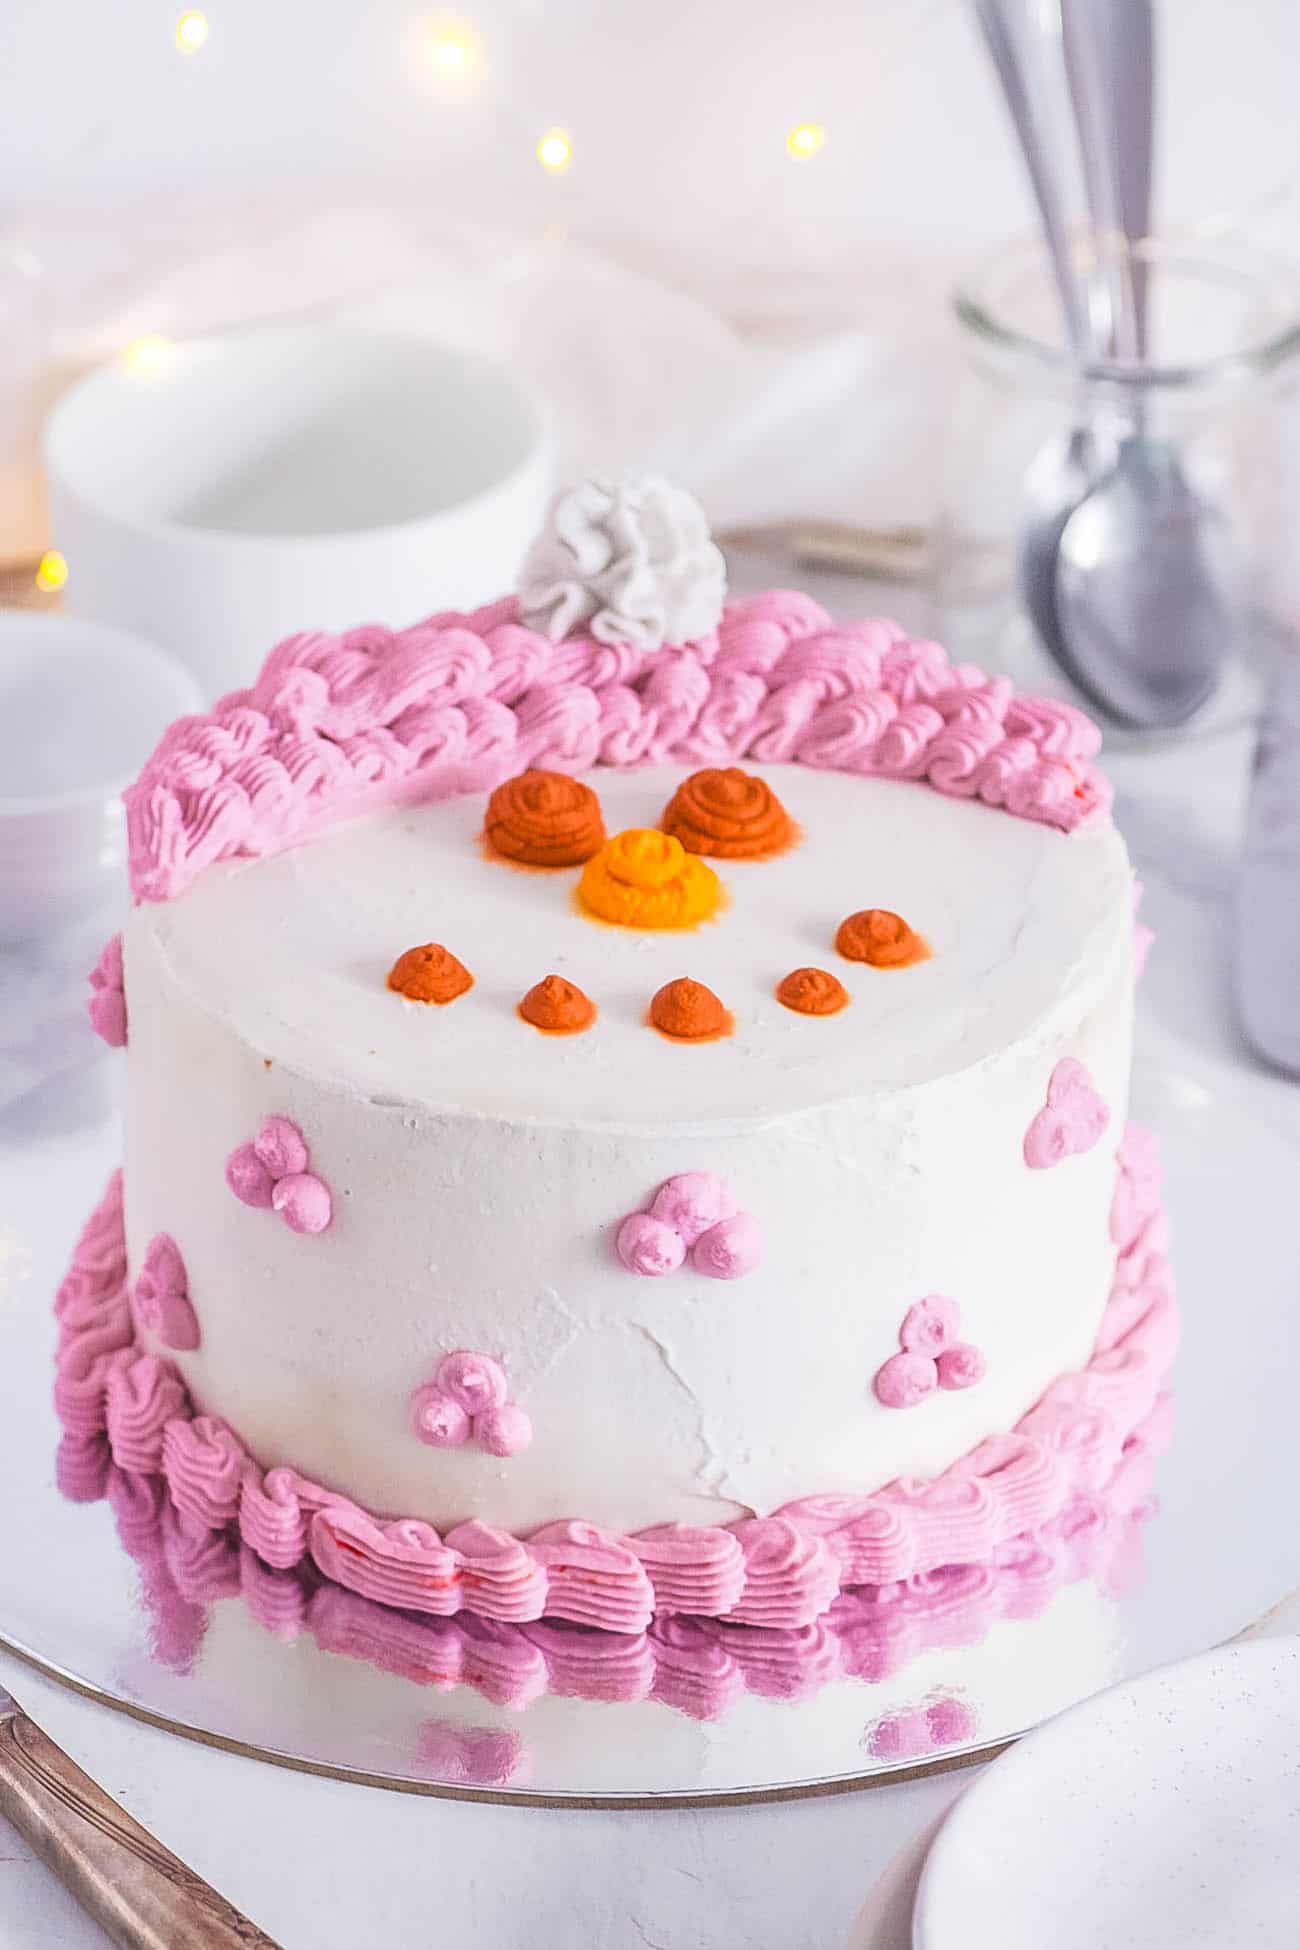
Winter-themed cakes can easily start looking a little too holiday-focused, so I wanted this winter onederland cake to keep the snowy charm while still working as a birthday cake. The vanilla cake base stays classic and crowd-friendly while the snowman decorations add personality without requiring complicated decorating skills. And if you prefer your winter desserts with a more traditional appearance, you should check out my snowman cupcakes.
I originally made this winter onederland cake for my daughter during a snowy first birthday weekend in the Midwest, and the entire party naturally started building around the winter theme from there. We served hot chocolate, winter desserts, and classic celebratory treats like my birthday cake muffins. Since then, I have reused variations of these decorations and cake ideas for all winter parties.
A good celebration cake should look festive but not overly so, and not sacrifice flavor, and this winter onederland cake does exactly that. The vanilla layers bake up soft with a light crumb, while the coconut cream frosting keeps the cake smooth and creamy without becoming too dense or cloying. As a nutritionist and mom, I love that I can make a party cake that is balanced and approachable with simple piping techniques.
One reason this cake turns out so well each time is the way the ingredients work together throughout the baking and decorating process. I whisk the dry ingredients separately first so the baking powder and baking soda distribute evenly throughout the flour, then combine the buttermilk mixture gently to avoid overmixing the batter. Once baked, I let the cake layers cool completely before frosting. I chill the cake once more after it has been iced and decorated before slicing.
The very first time I served this cake, it ended up becoming the centerpiece of the entire dessert table without me even planning on it. I made it as a birthday smash cake for my daughter, and at first, she was completely unsure of what to do with it. But after one small taste of frosting, she really went for it. Since we have photo evidence of this, my youngest naturally felt a bit of envy that he never had a snowman smash cake, so I had to make one for him despite him being way past that stage. Maybe next year I will make a snowman smash cake for my husband. Ha!
Latest Recipe Video!
🥘 Ingredients
For this Winter Onederland cake recipe, I use standard baking ingredients along with a coconut cream frosting for a lighter finish and smooth piping texture. This is everything I use:
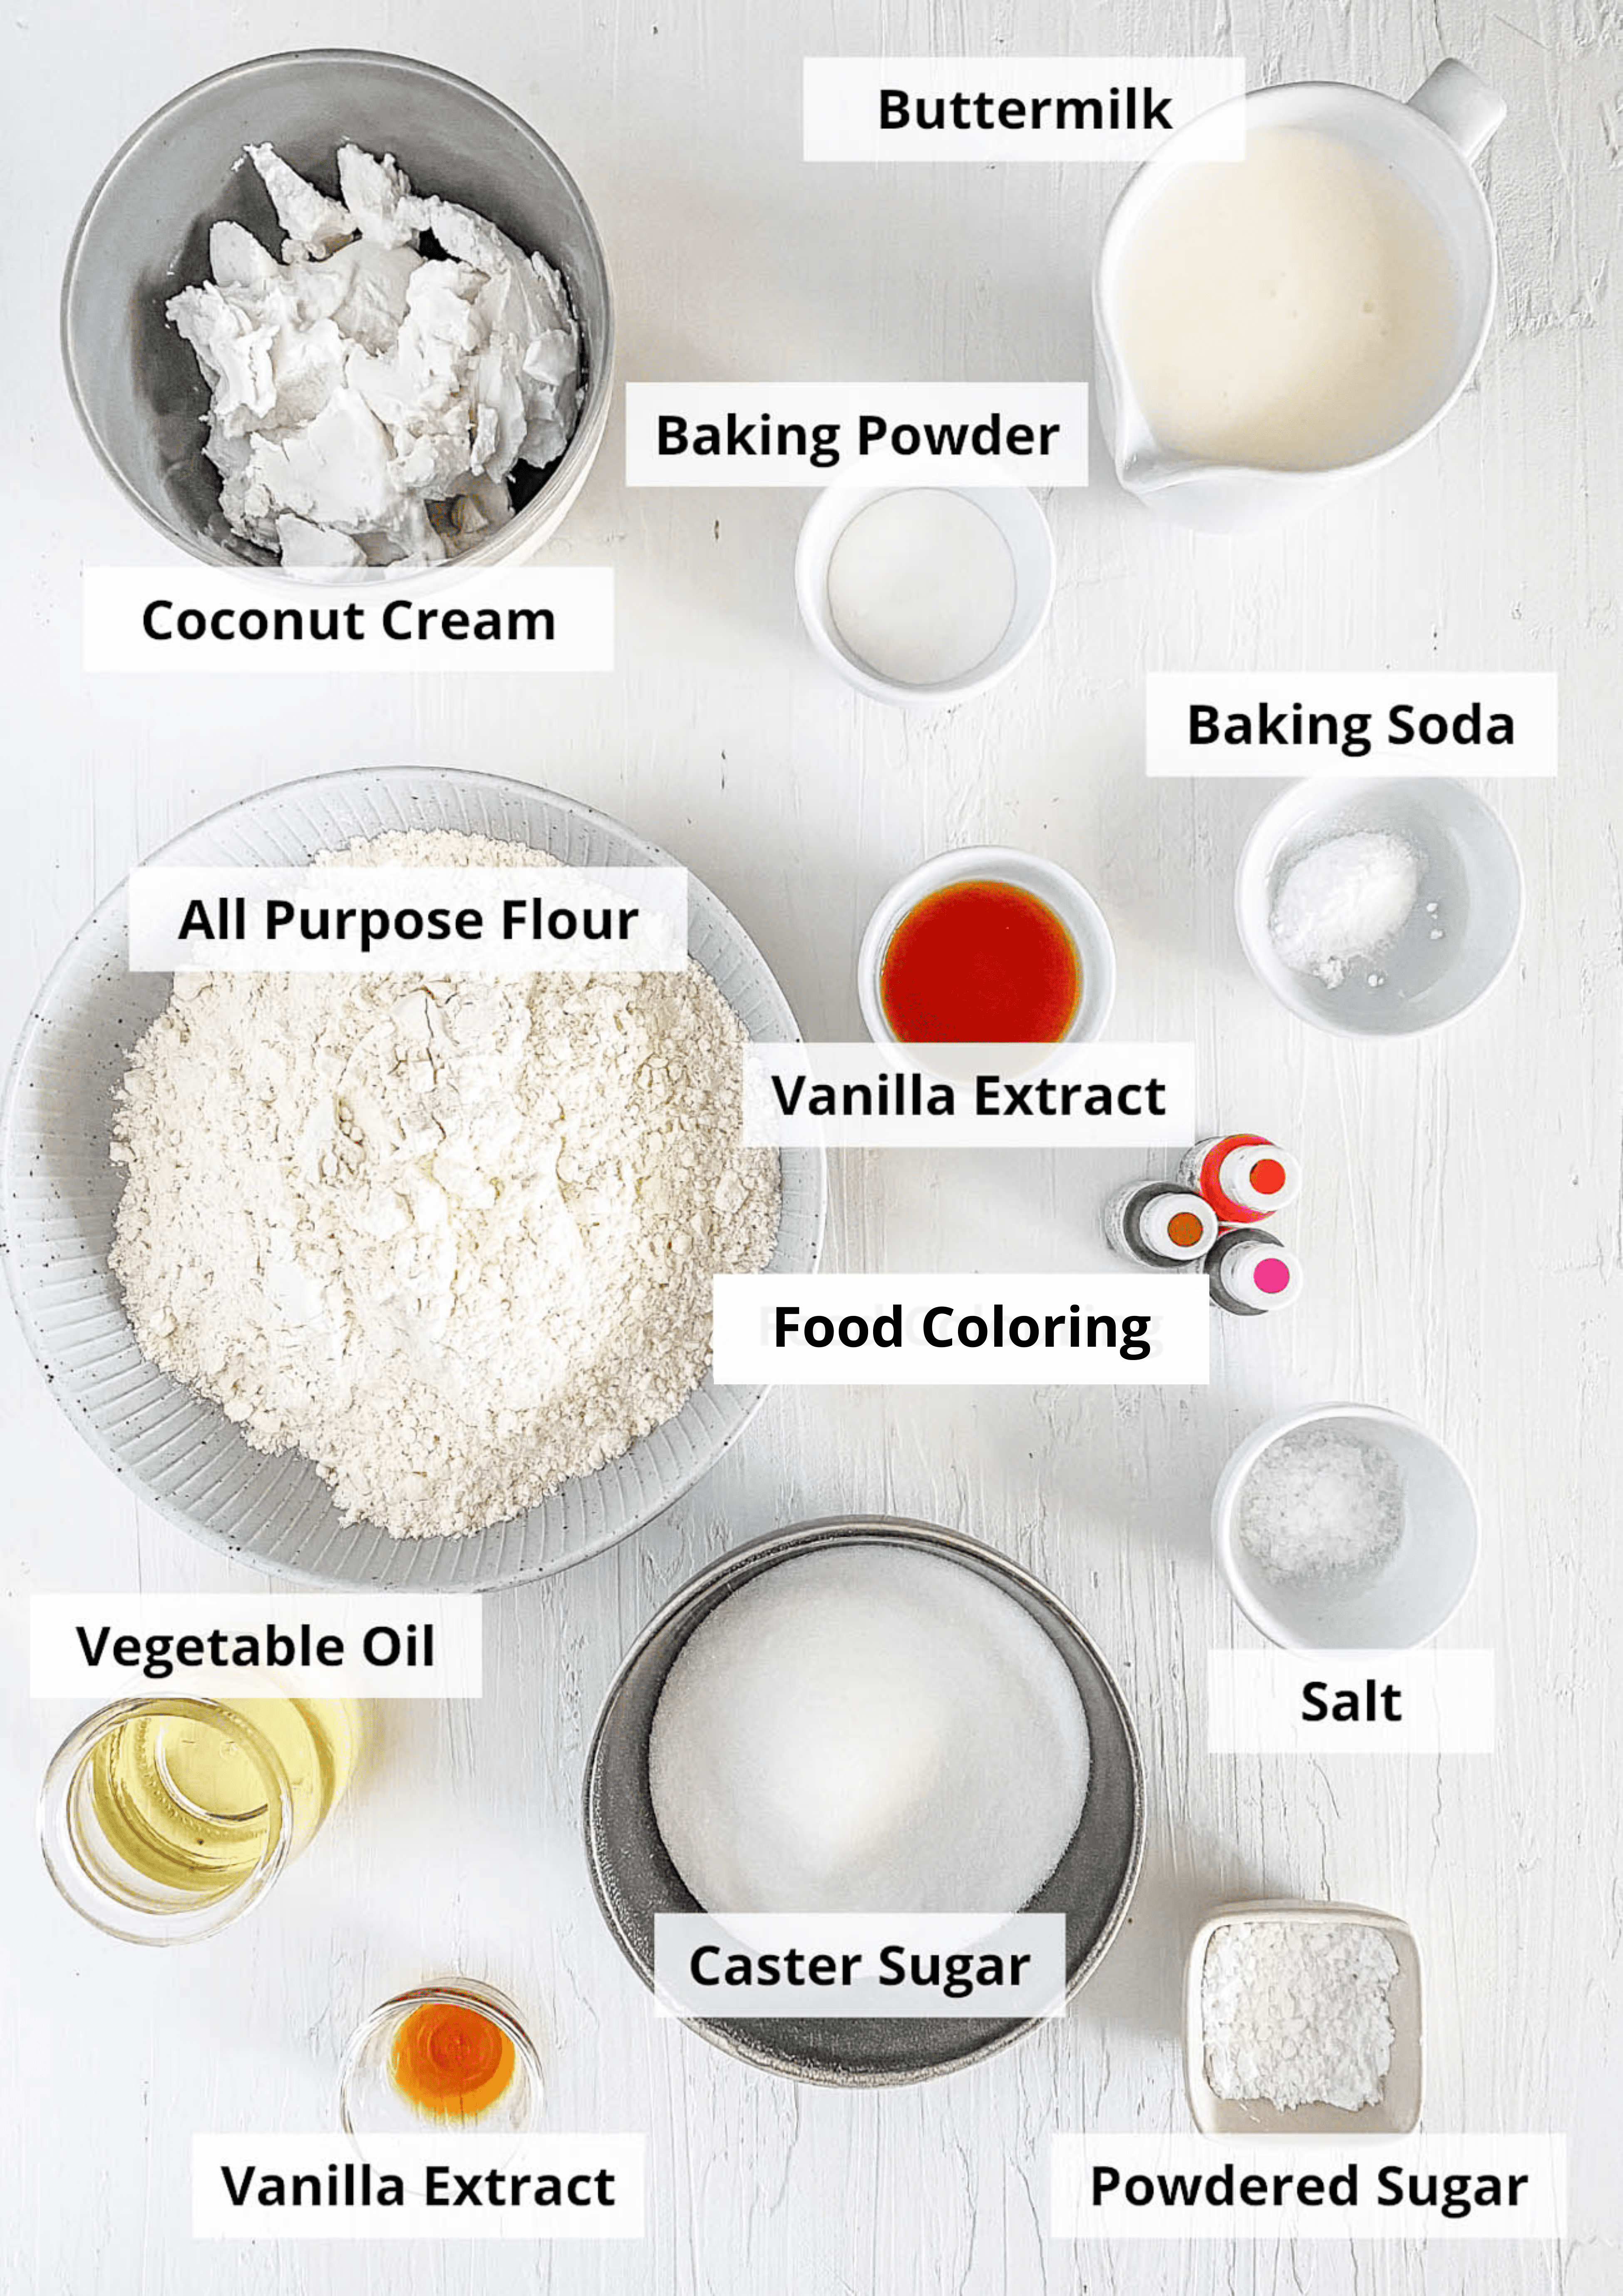
For the cake
All-purpose flour: This gives my cake structure and a classic tender crumb.
Caster sugar: Fine sugar blends smoothly into the batter and helps keep the texture delicate.
Salt: A small amount of salt balances the sweetness and sharpens the vanilla flavor.
Leavening agents: I use baking powder and baking soda to help the cake rise properly and keep the layers fluffy.
Vegetable oil: Oil adds moisture and keeps the cake soft for days after baking.
Vanilla extract: I use pure vanilla extract for a signature bakery-style flavor throughout the cake.
Buttermilk: This adds lightness and helps activate the leavening agents.
For the frosting
Coconut cream: Chilled coconut cream whips into a thick frosting that works perfectly for decorating.
Powdered sugar: Powdered sugar sweetens the frosting while helping stabilize the texture.
Natural food coloring: I use natural pink, orange, and brown coloring for the snowman details and decorations.
🔪 How To Make
I make this Winter Onederland cake in stages so the layers cool properly and the frosting stays thick enough for decorating. This is how I do it:
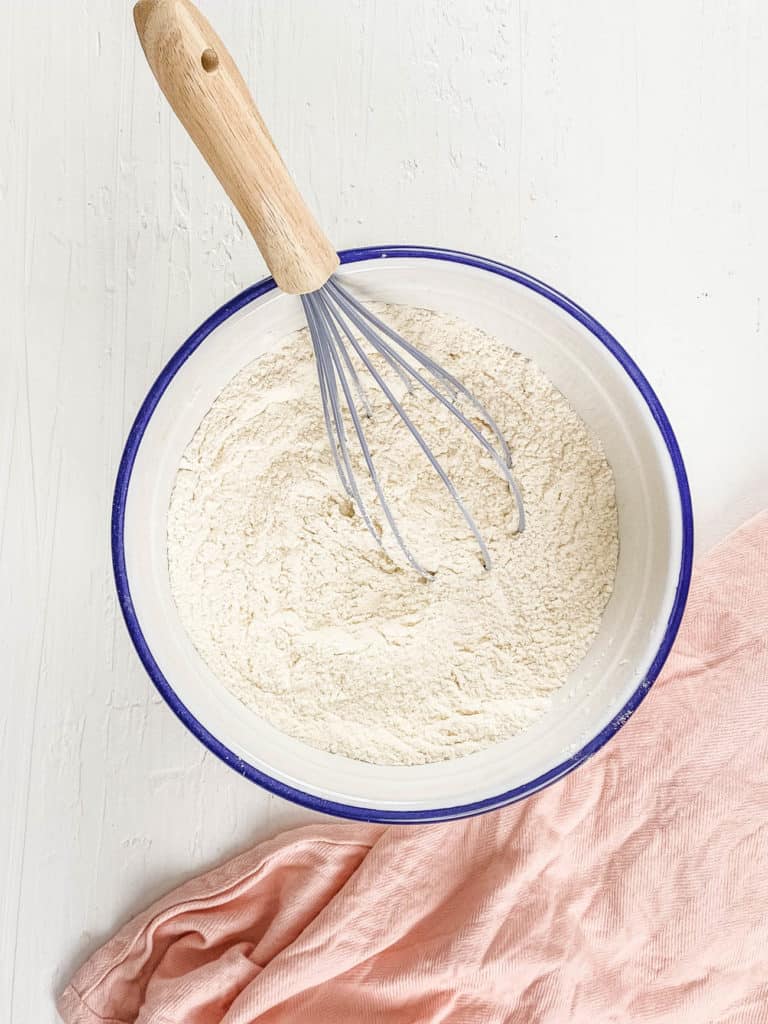
Preheat and prepare dry ingredients: I preheat the oven to 350F and line two 6-inch round cake pans with parchment paper. Then I whisk together the flour, sugar, baking powder, baking soda, and salt in a large bowl.
Mix wet ingredients: In a separate bowl, I whisk together the vegetable oil, vanilla extract, and buttermilk until fully combined.
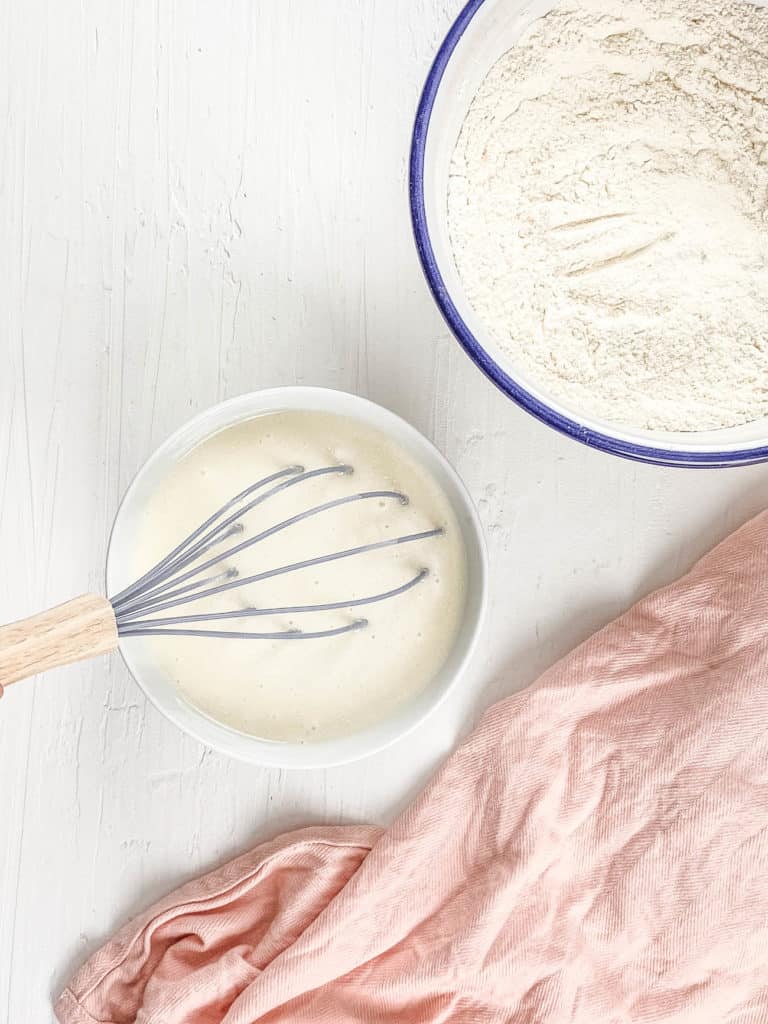
Combine the batter: Next, I pour the wet ingredients into the dry ingredients and stir gently until no dry streaks remain.
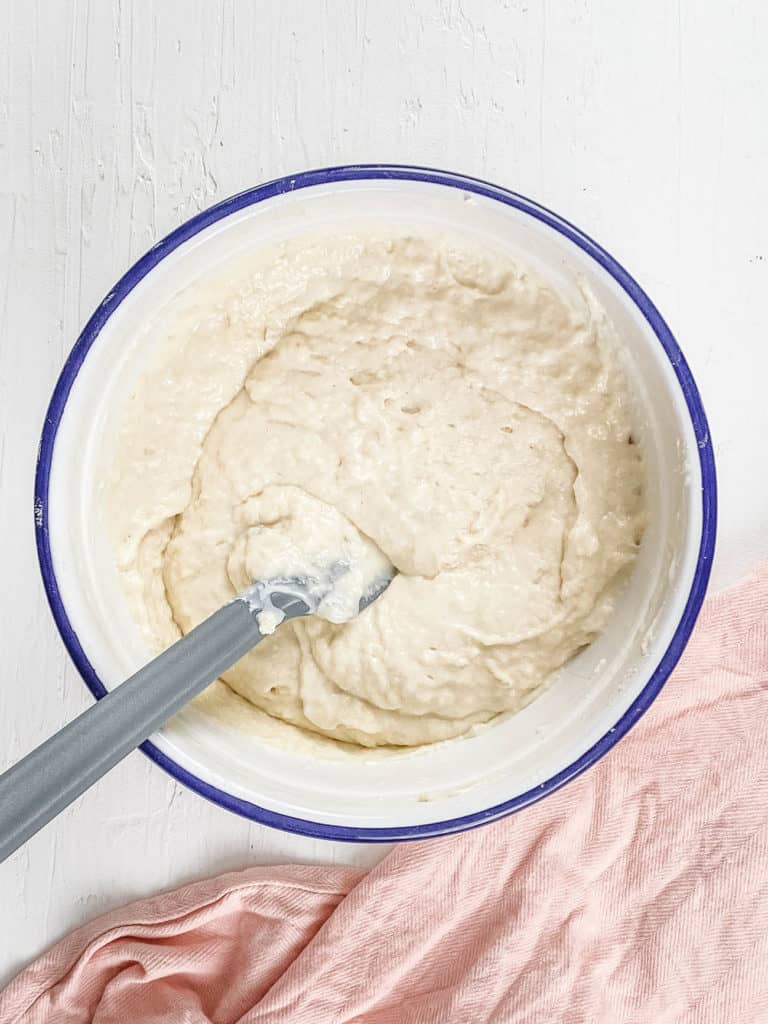
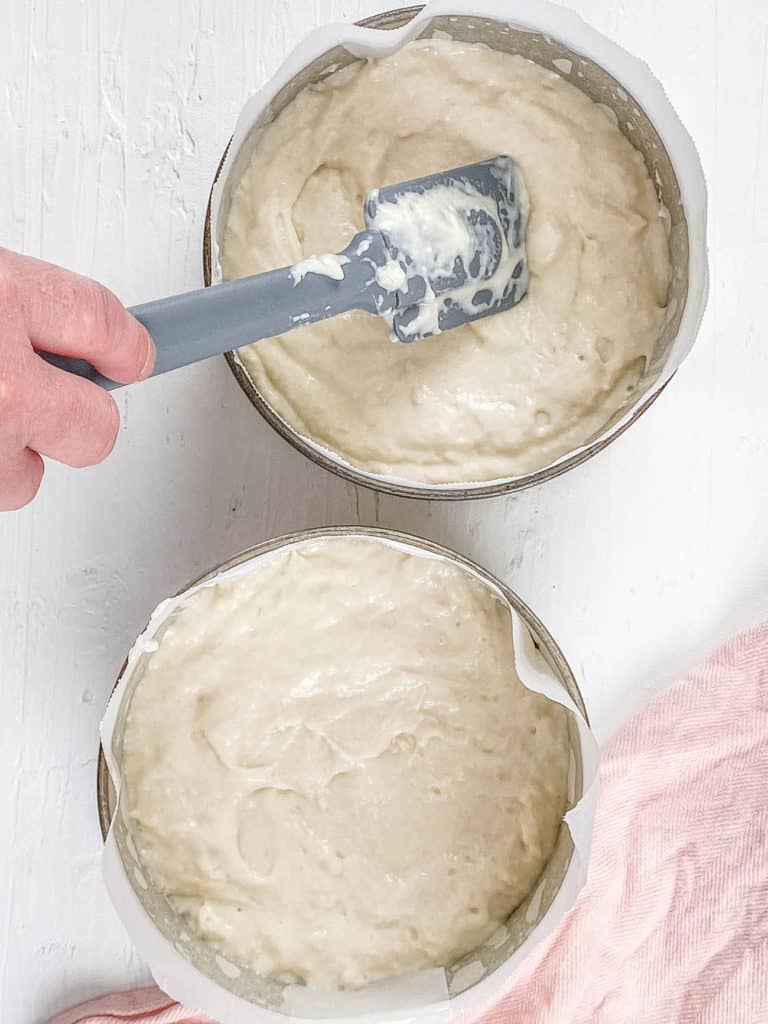
Fill cake pans: I divide the batter evenly between the prepared pans.
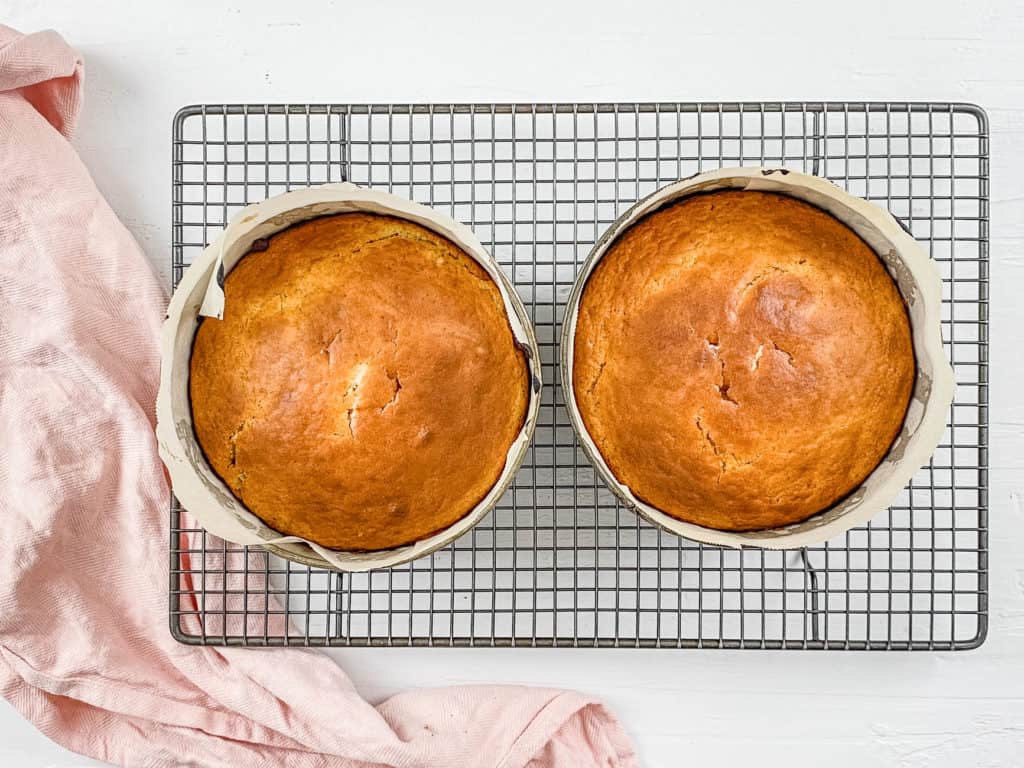
Bake the cake layers: Then, I bake the cakes for 30-45 minutes until a skewer inserted into the center comes out clean. Once baked, I let the cake layers cool completely.
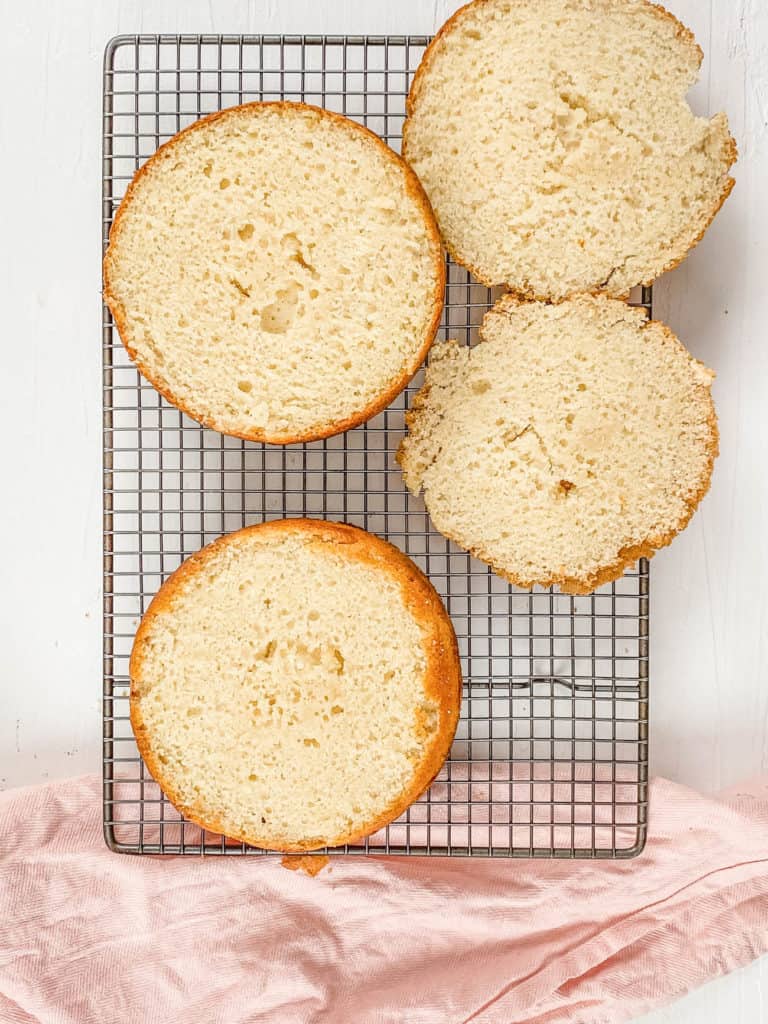
Level cakes: After the cakes have cooled, I level off the top of each cake.
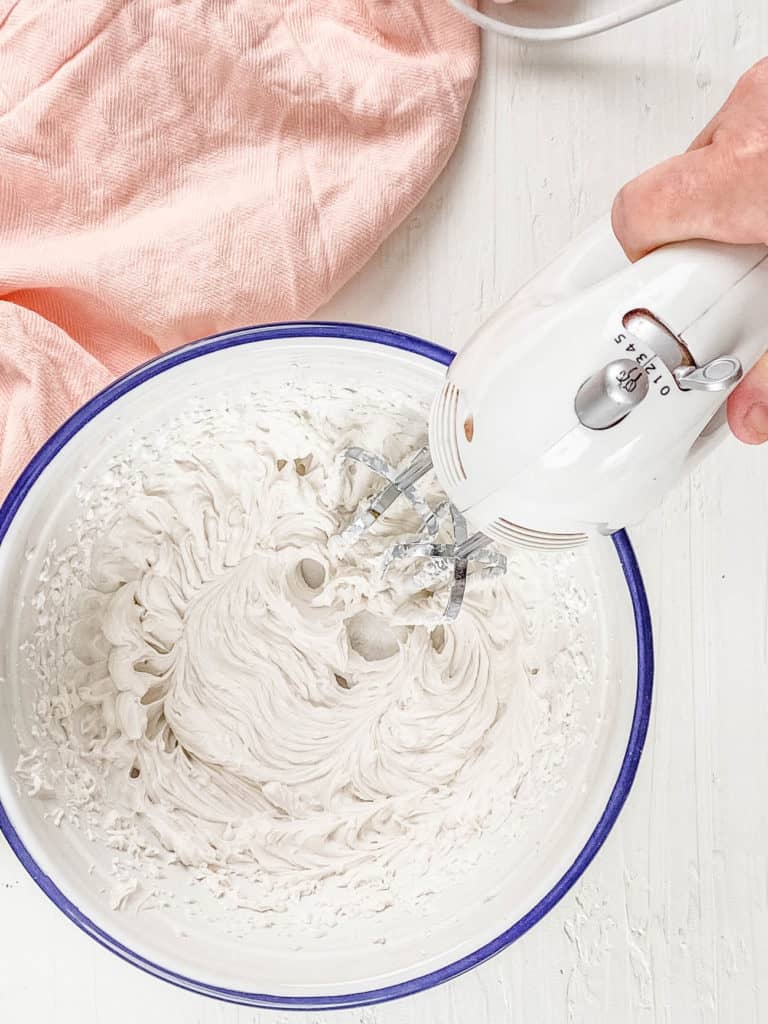
Whip the frosting: I scoop out only the thick portion of the chilled coconut cream and whip it with powdered sugar and vanilla extract until light and fluffy.
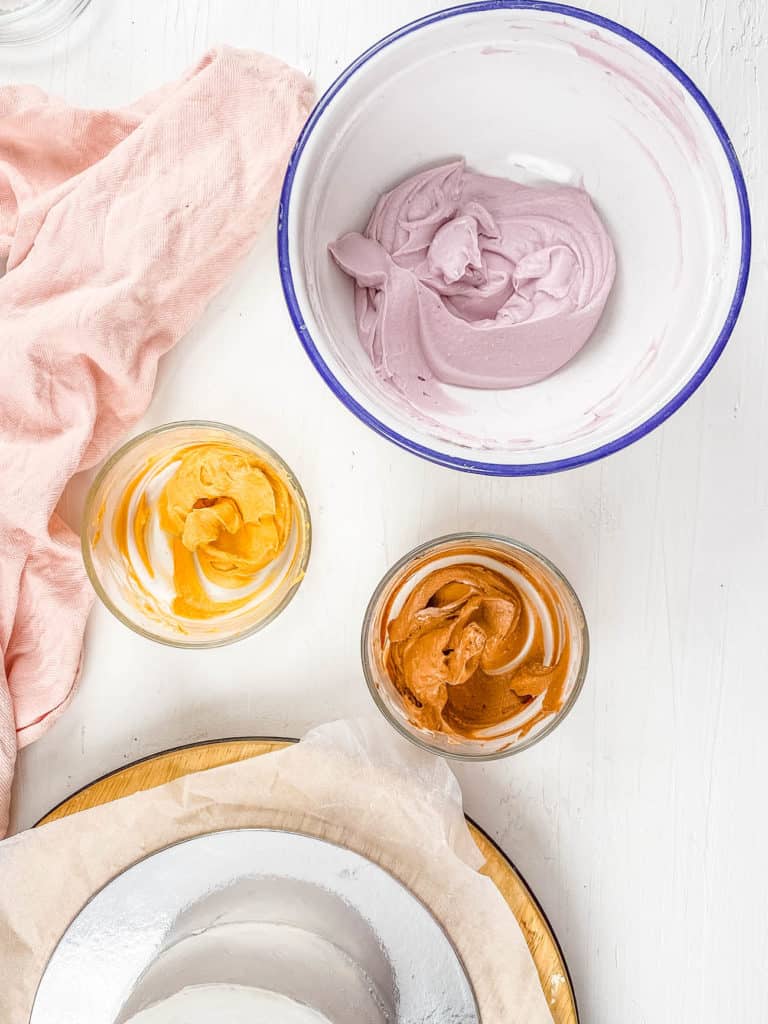
Divide and color frosting: Then I divide the frosting into portions in separate bowls and color each accordingly. Be sure to keep some white icing aside, too.
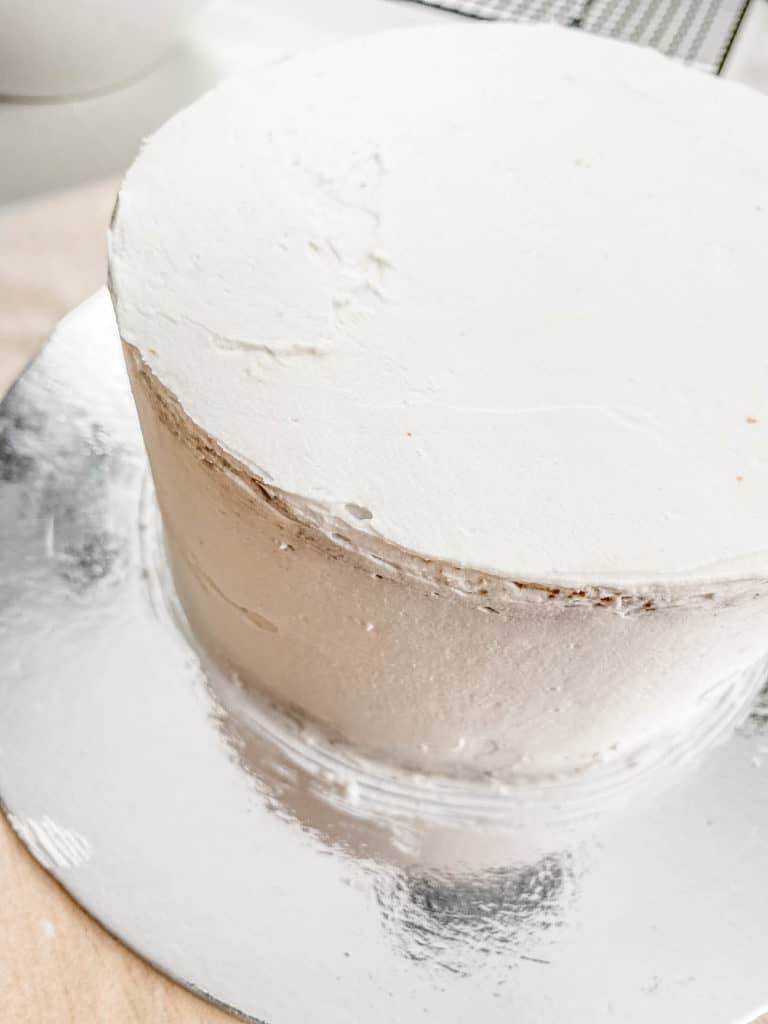
Layer cakes: I add a layer of white icing as the cake filling and sandwich the cake rounds together. Then I cover the assembled cake in white icing.
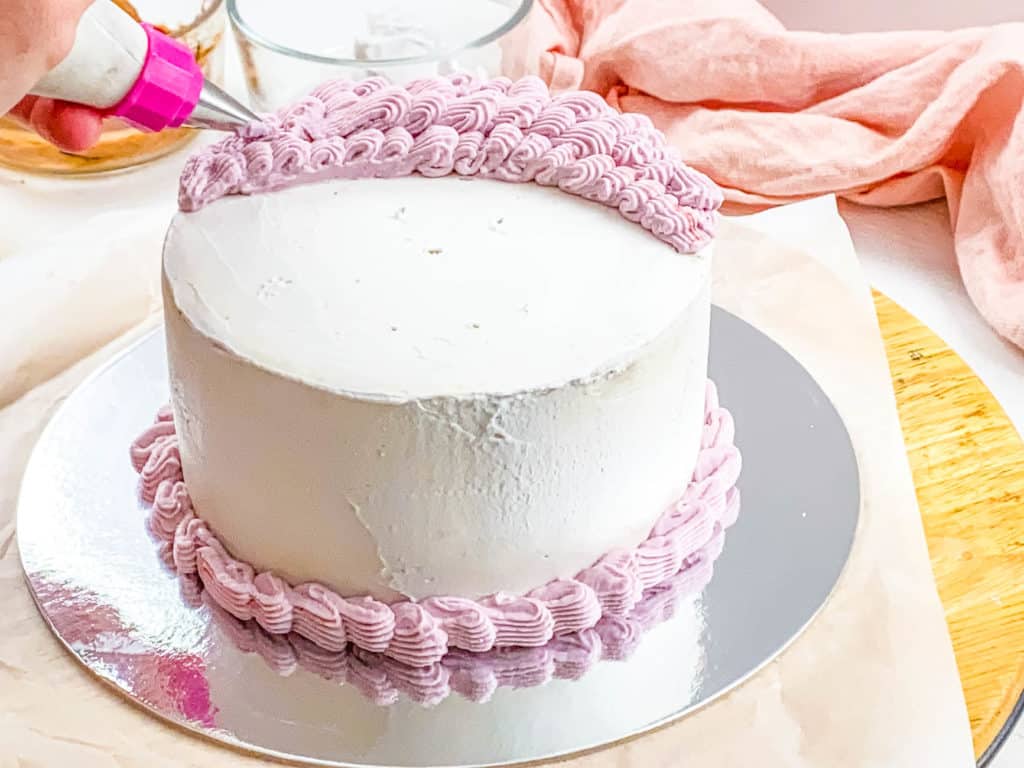
Decorate: Next, I use the pink icing to pipe dots around the base of the cake and for the snowman’s hat.
Pipe face: I use the brown icing for the eyes and mouth, and finish off any final decorating details.
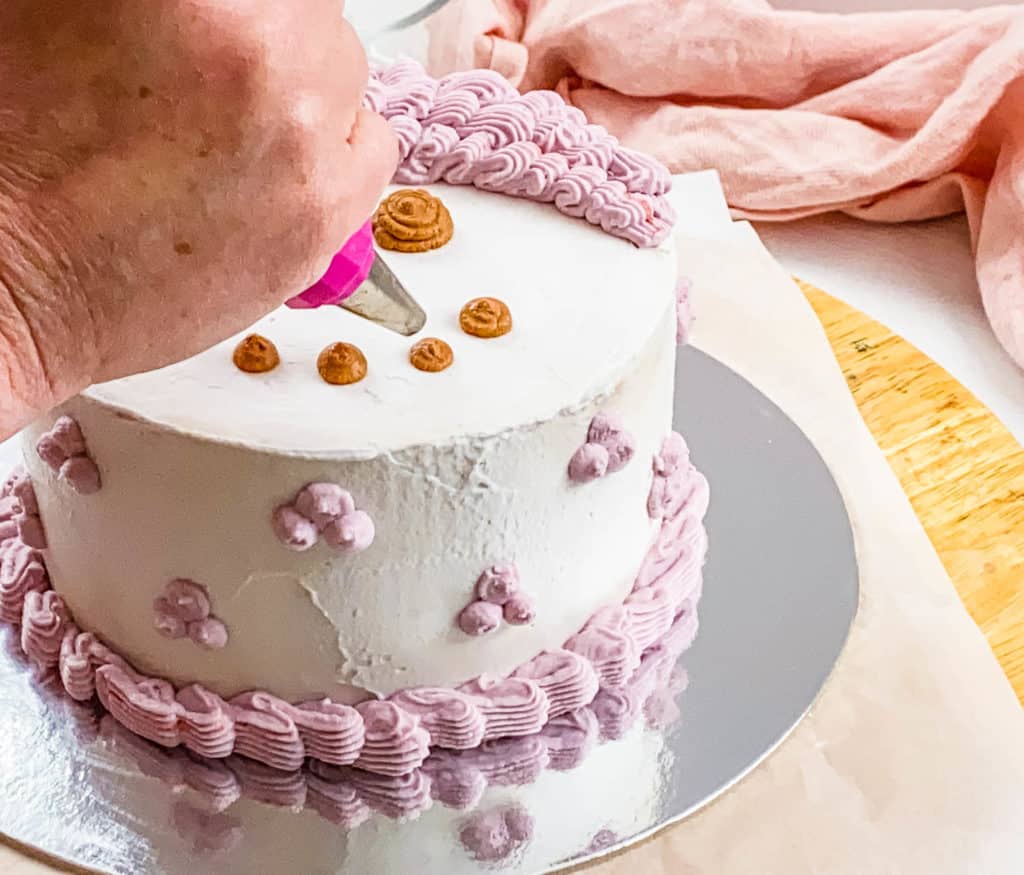
Chill before serving: Once all the decorating is done, I refrigerate the cake for at least 2 hours so the frosting firms up properly before slicing and serving.
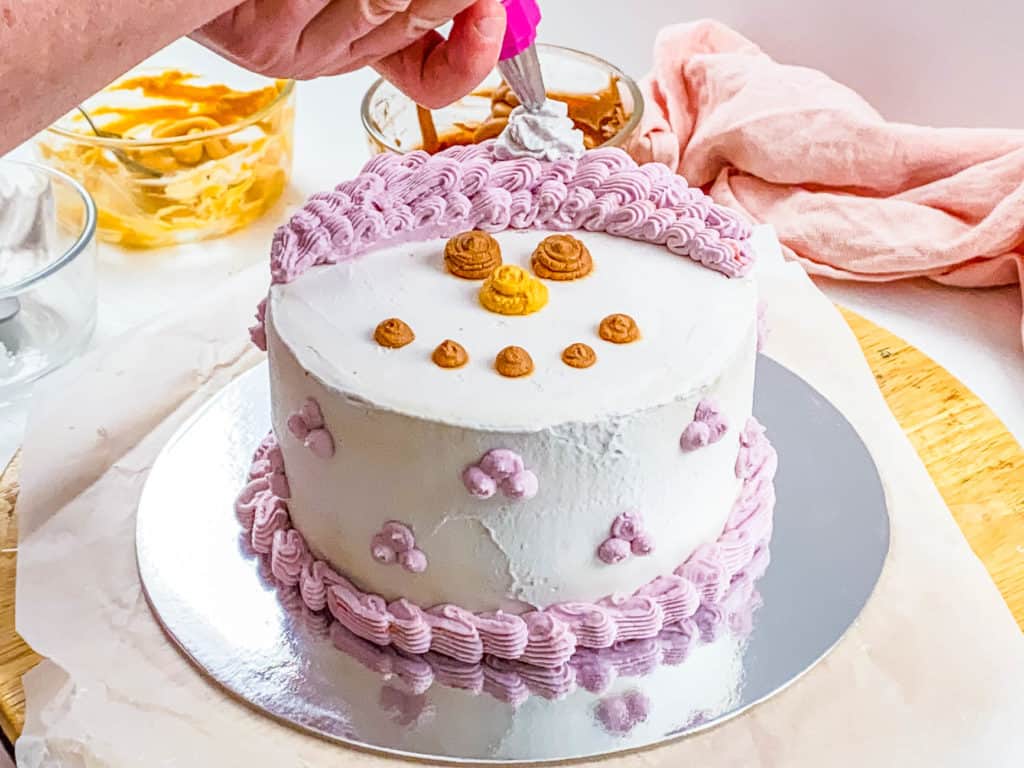
My #1 Secret Tip for this Winter Onederland cake recipe is to refrigerate the coconut cream for a full 24 hours before whipping it. In my experience, coconut cream that has not fully chilled stays too soft and loose for piping clean decorations onto the cake. Once properly chilled, the thick cream separates from the liquid and whips into a much sturdier frosting with a smoother texture.
Other Tips To Keep In Mind:
- Cool completely: I never frost the cake while it is still warm, or the coconut cream starts melting immediately. This cake requires planning and cannot be made at the last minute.
- Mix gently: I keep a light hand when combing my batter, as overmixing overworks the gluten and the cake texture ends up heavy and dense.
- Crumb layer first: Adding a very thin layer of frosting over the entire cake before the actual frosting layer helps catch stray crumbs and ensures that your outer layer is smooth and clean.
- Freeze layers briefly: If the cake layers feel extra soft, I place them in the freezer for 15-20 minutes before decorating. Slightly chilled cake layers are much easier to frost.
- Avoid watery coloring: Gel-based natural food coloring works much better than liquid coloring since extra liquid can thin out the frosting too much and even cause it to split.
📖 Variations
I have tested several versions of this winter Onederland cake, depending on the party setup and flavor preferences. So far, these 3 have been some of my favorites:
Chocolate version: I replace 1/4 cup of flour with cocoa powder for a soft chocolate cake variation. My kids especially love this version with extra chocolate snowflake decorations on top.
Onederland cupcakes: I divide the batter into cupcake tins for individual cupcakes. I love making this version for class and office parties. Adults and kids get equally excited by the adorable piped snowman face.
Peppermint finish: I add 1/4 teaspoon peppermint extract to the frosting for a cooler winter flavor. When I make this version, I keep the frosting more traditional Christmas colors like green, red, and white, and use finely crushed candy canes in the center and on top.
🍽 Serving Suggestions
For winter birthday parties, I love serving this winter onederland cake with mugs of oat milk hot chocolate, and other wintery foods like gooey and delicious vegan smores. If you are serving this for a kids’ party, I highly recommend adding a few reindeer holiday sandwiches and Christmas Rice Krispie treats to the table, too.
My friend has always talked about my daughter’s first birthday cake, saying it was one of the best she has ever tasted. So a few years ago, I decided to throw her a surprise winter thirty-onederland-themed birthday. I made her her very own snowman cake, and laid the table with platters of strawberry Santa hats, a puff pastry Christmas tree, and a few Christmas muffins. The drinks also fit the theme with blue butterfly pea lattes decorated with snowflake sprinkles, wintermelon milk tea, and of course, some vegan eggnog for the grown-ups.
🧊 Storing And ♨️ Reheating
Refrigeration: I store the cake covered in the refrigerator for up to 4 days since the coconut cream frosting needs to stay chilled.
Freezing: The unfrosted cake layers freeze well for up to 2 months when wrapped tightly.
Reheating: I let refrigerated slices sit at room temperature for about 20 minutes before serving so the cake softens slightly again.
❓Recipe FAQs
If coconut cream is not your preference, cream cheese frosting or a basic vanilla buttercream also works well with this cake. I still recommend keeping the frosting fairly thick so the decorations stay neat once piped.
I usually use natural gel food coloring, but there are also plenty of pantry ingredients that work surprisingly well. Beet powder, or freeze-dried strawberry powder, creates pink tones while turmeric works for yellow or orange tones. Cocoa powder creates a brown color, spirulina can be used for green, and blue pea flower powder creates a stunning shade of blue.
This normally happens when the coconut cream gets too warm or contains too much liquid from the can. I only scoop out the thick cream portion after chilling overnight, and keep the mixing bowl cold while whipping. If the frosting starts loosening too much, placing it back in the refrigerator for 15-20 minutes usually helps it firm back up.

Love this Dessert recipe? Please leave a 5-star rating 🌟 in the recipe below and/or a review in the comment section further down the page!
You can also FOLLOW ME on FACEBOOK, INSTAGRAM, and PINTEREST to see more delicious, healthy, family-friendly food, and if you have any questions, I’m here to help!
📋 Recipe Card
Winter Onederland Birthday Cake
This winter onederland cake combines soft vanilla cake layers, thick whipped coconut frosting, and a simple piped snowman decoration into one adorable winter-themed dessert. It stays moist and fluffy while the frosting keeps the finish light instead of overly rich. This cake is ideal for winter birthdays, holiday gatherings, and cozy family celebrations.
Servings: 18
Calories: 260kcal
-
Preheat the oven to 350 F/180 C. Line two 6 inch round cake tins with parchment paper.
-
Whisk together the flour, sugar, baking powder, baking soda and salt.
-
In a separate bowl mix together the oil, vanilla extract and buttermilk. Pour the buttermilk mixture into the flour mixture and stir until combined. Make sure to not overmix it.
-
Divide the batter between the prepared cake tins.
-
Bake for 30-45 minutes or until an inserted skewer comes out clean. Remove and allow to cool completely before decorating.
-
When cakes have chilled completely, level off the top of each cake.
-
Place the chilled thick coconut cream (discard any coconut water), vanilla and sugar into a mixing bowl and whip with a stand mixer, or electric hand mixer, until thick and fluffy.
-
Separate the icing in half. One half will remain white while the remaining icing will be separated into 1 medium bowl and 2 smaller bowls. Colour each bowl with food colouring making sure you have a large amount coloured in pink.
-
Start by adding a layer of white icing as the cake filling, to one layer of cake. Smooth into an even layer. Top with the other cake layer. Cover the cake in remaining white icing, smoothing all over. Note: Leave a small amount or white icing to use to decorate the snowman’s hat.
-
Using the pink icing, pipe around the base of the cake. Next pipe the snowman’s hat and small flowers around the side of the cake.
-
Next pipe the eyes and mouth with the brown icing. Add a “carrot” nose and finish off any final details.
-
Store in the fridge for 2 hours before serving.
- My #1 Secret Tip for this Winter Onederland cake recipe is to refrigerate the coconut cream for a full 24 hours before whipping it. In my experience, coconut cream that has not fully chilled stays too soft and loose for piping clean decorations onto the cake. Once properly chilled, the thick cream separates from the liquid and whips into a much sturdier frosting with a smoother texture.
- Cool completely: I never frost the cake while it is still warm, or the coconut cream starts melting immediately. This cake requires planning and cannot be made at the last minute.
- Mix gently: I keep a light hand when combing my batter, as overmixing overworks the gluten and the cake texture ends up heavy and dense.
- Crumb layer first: Adding a very thin layer of frosting over the entire cake before the actual frosting layer helps catch stray crumbs and ensures that your outer layer is smooth and clean.
- Freeze layers briefly: If the cake layers feel extra soft, I place them in the freezer for 15-20 minutes before decorating. Slightly chilled cake layers are much easier to frost.
- Avoid watery coloring: Gel-based natural food coloring works much better than liquid coloring since extra liquid can thin out the frosting too much and even cause it to split.
Serving: 1slice | Calories: 260kcal | Carbohydrates: 28g | Protein: 4g | Fat: 15g | Saturated Fat: 13g | Polyunsaturated Fat: 1g | Monounsaturated Fat: 1g | Cholesterol: 3mg | Sodium: 76mg | Potassium: 260mg | Fiber: 1g | Sugar: 10g